Raychelle “Ray” Ellsworth is a sports performance coach at Texas A&M. She holds the most prestigious honor awarded in her profession: Master Strength and Conditioning Coach through the Collegiate Strength and Conditioning Coaches Association (CSCCa). At the time of her induction in 2007, she was one of only 60 coaches in the country to hold the esteemed honor, and she remains one of only a few select females to have earned the distinction.
After completing her collegiate volleyball career at Texas A&M, she was promoted to Restricted Earnings coach. Her first full-time collegiate coaching gig was at the University of Washington from 1995 to 1996. She returned to her alma mater in ’96 and now serves as the Director of Sports Performance as well as a Professor of Practice in the A&M kinesiology department master’s exercise physiology program.
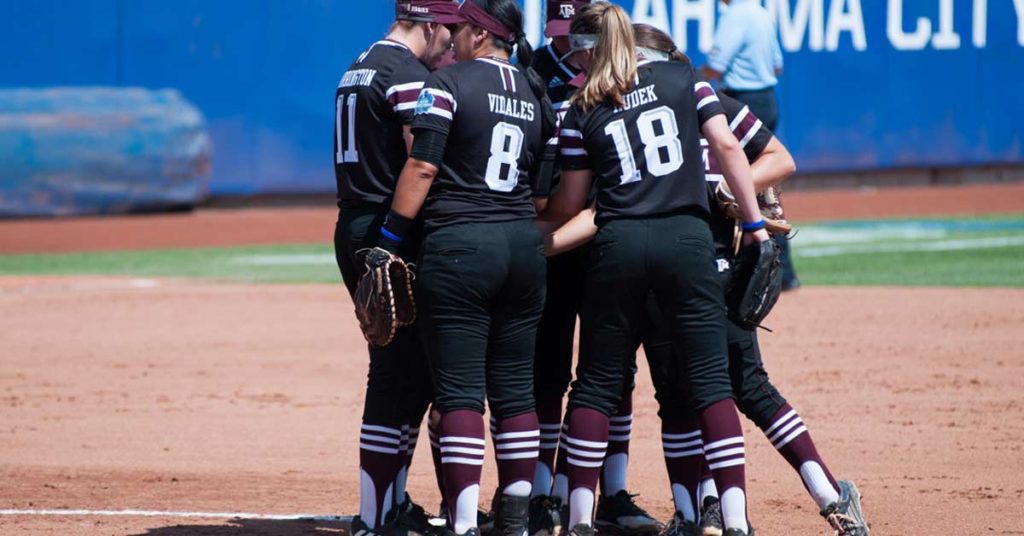
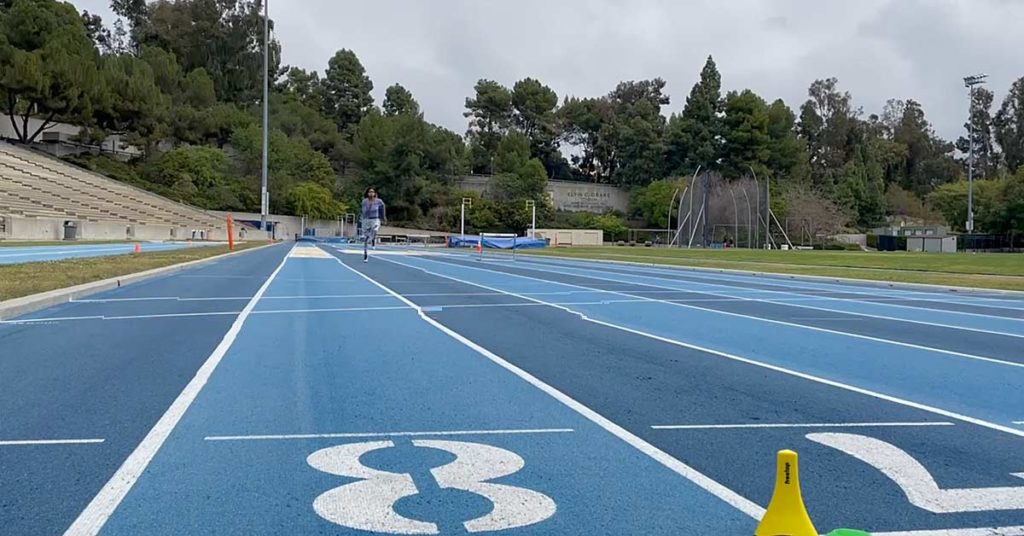
Throughout her career, Ellsworth has coached football, volleyball, softball, tennis, track and field, golf, soccer, and cheer. Currently, she oversees volleyball, softball, and the intern program, as well as the collaboration between athletics and the master’s practicum program, which she helped start in 2000.
Freelap USA: Your social media handles are “Relentless Ray,” and I’ve seen you discuss building relentless athletes. Talk us through what that means to you and how you develop relentlessness in your athletes.
Raychelle Ellsworth: My favorite word is “unrelenting.” By definition, it means “not yielding in strength, severity, or determination.” I feel this word describes my personality and my competitiveness. As a coach, I strive to be as close as possible to the same person day in and day out. I want to be a constant presence of positivity, high expectations, accountability, and discipline—not only for myself, but for my athletes as well.
I will not allow athletes to deviate from my expectations of effort or attention to detail. They will do it right or they will do it again or they will be asked to leave. Pretty soon, they realize it’s much easier just to pay attention and do things correctly with great effort than to have to repeat it. I think my athletes appreciate me holding EVERYONE accountable. I praise effort and I call out a lack of discipline. Because of my consistency, it is easy to create a culture of effort, attention to detail, and respect.
Freelap USA: On a related note, the topic of mental toughness is fairly controversial in strength and conditioning. Where do you see the role of the strength and conditioning coach in mental toughness, and are you collaborating with your sports psychology department on campus to develop a more mentally robust athlete?
Raychelle Ellsworth: I am a firm believer that a lot of habits are developed by the time my athletes get to campus as a 17- or 18-year-old. If a sport coach wants mentally tough athletes, they must seek out that type of athlete in recruiting. If an athlete’s first instinct is to quit or not finish, that is a very difficult thing to change INTRINSICALLY.
If a sport coach wants mentally tough athletes, they must seek out that type of athlete in recruiting. If an athlete’s first instinct is to quit, that’s a very difficult thing to change. Share on XSo, this leads us back to the first question—the role of the strength and conditioning coach in developing mental toughness. I have to hold each athlete accountable to giving effort and paying attention to details. Cheating a rep or not having great effort is not an option when it’s a required workout. However, I think that once that same athlete is doing non-required work off-site and that little voice in their head starts chirping “it’s good enough,” they will revert to old habits. So, I don’t know that it makes a permanent difference.
Our sports psychology department has done a very good job working both collectively and individually with our student-athletes on a variety of topics. I think they can help them examine why an athlete may want to default to the path of least resistance when things get difficult; but ultimately, I think it is very difficult to change habits that have been ingrained for so long.
Freelap USA: There is a lot of chatter about “today’s athlete,” and a growing need to evolve as a coach to better relate to them. Have you changed your approach to dealing with your athletes over the years? If so, how?
Raychelle Ellsworth: I think today’s athletes have more things to deal with than I did when I was an athlete, so my approach has changed a bit over the years. The two biggest things an athlete has to deal with now that they didn’t have to in the past are social media and its influence and specializing in one sport and playing it virtually year round beginning at such a young age.
Social media is a huge part of an athlete’s life, and the messages they are bombarded with daily really influence their behavior, as well as what they believe is important. The female athletes are especially under attack to look a certain way. Many of the images are just not realistic and certainly not productive to performance. So, they end up fighting within themselves to attain a very unrealistic look and still try to optimize performance.
The specialization of sport at such a young age has led to a less well-rounded athlete who often enters college with some sort of major or chronic injury situation. This means we have to spend more time broadening our movement pattern skills, modifying programs to work around injuries, and trying to create a more robust athlete.
So, how have I changed my approach over the years? I’ve spent more time educating athletes about the “why,” pared down my exercise menu to be more concise and specific, and focused on the best possible execution of these movements. Also, as I have matured, I think I am more willing to meet athletes where they are. I may not treat every athlete the same, but each is treated fairly.
Freelap USA: From a more technical standpoint, what changes have you seen in the physical preparedness of collegiate athletes arriving for their freshman year? What can high school coaches focus on to close the potential gap between where they are at physically versus where they need to be?
Raychelle Ellsworth: As stated above, general well-rounded athleticism is not as common as it used to be. This comes mostly from the specialization of sport at such a young age as well as the removal of PE from a lot of schools. I would like to see the following from an incoming athlete:
- Basic locomotion skills (hopping, skipping, jumping, bounding, cartwheels, backward/forward rolling skills).
- The ability to handle their body weight in push-ups, pull-ups, squat variations, and lunges.
- Core work/bracing.
- Jump/running mechanics.
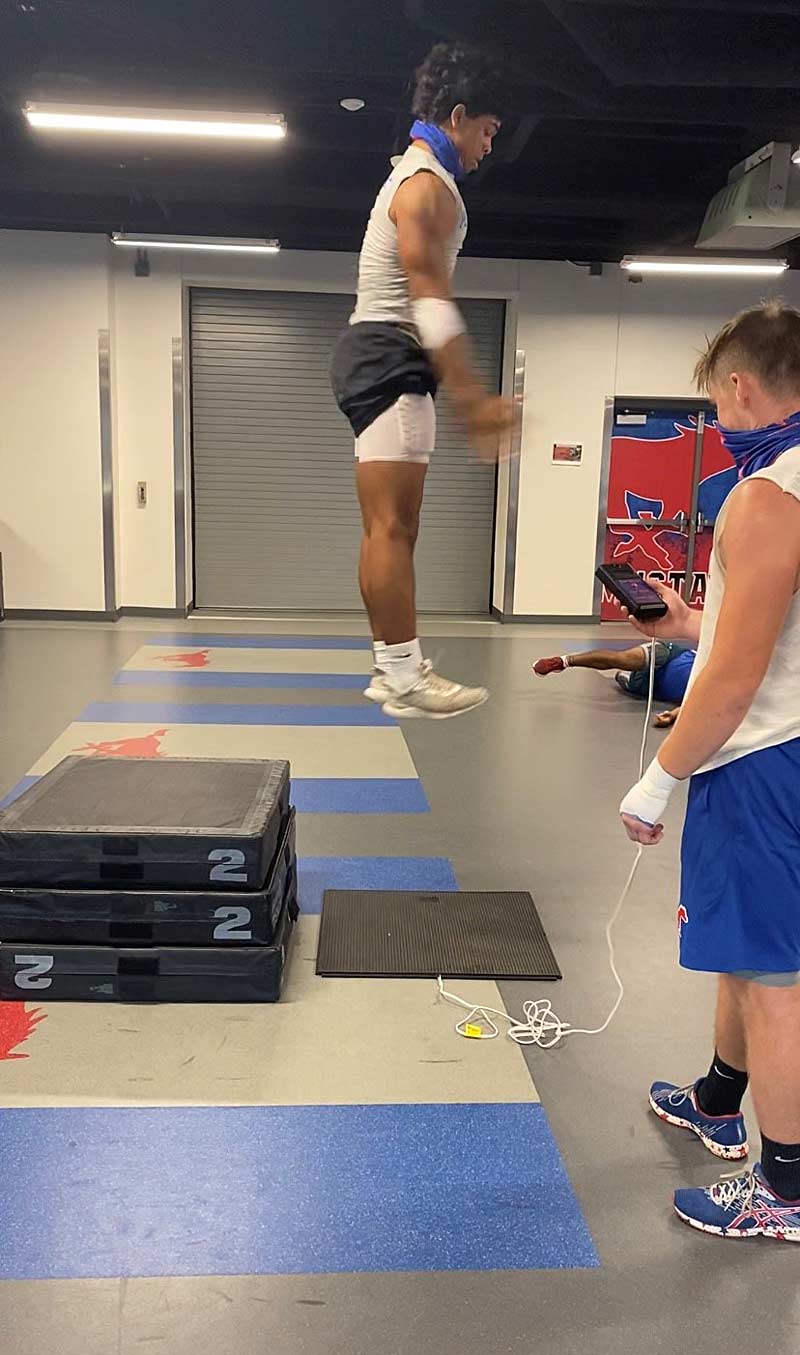
Additionally, shoulder and hip mobility seemed to have declined over the years. I have seen athletes not able to jump rope, do a push-up, or jump without their knees collapsing in. I have seen athletes not able to lift their knees effectively when sprinting.
In an ideal world, PE would be mandatory from K thru 6th grade and junior high programs would begin introducing resistance training focusing on the big basic movements they build on in high school, says @unrelentingRay. Share on XOn the bright side, I’m slowly but more frequently seeing more athletes coming from very good H.S. strength and conditioning programs. These kids can pull a load from the floor, squat to parallel, and jump and land with proper mechanics, and they have good relative strength with adequate mobility. In an ideal world, PE would be mandatory from kindergarten through sixth grade. Junior high programs would begin introducing resistance training focusing on the big basic movements that athletes will build upon once entering their high school program.
Freelap USA: Your humility probably precludes you from seeing this, but many consider you a pioneer in women’s strength and conditioning. How have you seen the role of women in the field evolve over the years, and what can coaches do to ensure we further progress toward more equitable representation within the field?
Raychelle Ellsworth: There were only a handful of women in the field when I got in, and sadly, it seemed for a very long time that women would enter the field and then leave shortly thereafter. Some of the reasons that so many women didn’t stay wasn’t because of gender issues but rather an issue of strength and conditioning as a career in general at the time.
When I started, S&C staffs were incredibly small. In 1995, I was part of a three-member staff at the University of Washington servicing over 20 varsity teams, including football. Now, it is not uncommon for a Division I university to have five full-time S&C members for football alone. So, staffs were small, pay was meager at best, and 12-hour days were the norm, not the exception. Many people left the field because it is hard to sustain that level of commitment with so little compensation.
Early on, most practitioners in this field were not viewed as having a specialized skill set, so that didn’t help with the compensation factor, either. The one thing that drove a bunch of other women out of the field was trying to manage a family while working extremely long hours. It wasn’t that women couldn’t handle the long hours, but the reality is that, in most cases, the female is the primary caregiver. Being the primary caregiver while away from home 12 hours a day for what amounted to a bit over minimum wage was hard to justify, in some cases.
It wasn’t easy, but some of us were able to make it work. Now I am proud to say that there are so many talented women in this field, although we are still a minority. I think the growth and sustainability of women in S&C has been because of the increase in staff size, increase in salaries, and in some cases, the separation of Olympic sports from football, which has led to more leadership positions opening up for women.
What can we do to recruit and retain more women and minorities in S&C? I try to recruit women and minorities for our part-time intern positions to mentor them and give them exposure in Power 5 conferences. I think mentoring is a lost art, and it is so valuable to invest in people.
Encourage your staff to be part of committees, so they can be viewed by ‘outsiders’ as someone other than the one that ‘watches the weight room,’ says @unrelentingRay. Share on XThose of us in leadership roles also need to be advocates for women and minorities when people call about job openings. To be an advocate, you have to network to stay abreast of the talent that is out there. That means taking the time to reach out and get to know the younger coaches at conferences and professional events.
Once you have exceptional women and minorities on your staff, you need to be proactive in retaining them. Make sure the administration knows who is on your staff and what they bring to the department. Encourage your staff to be part of committees, so they can be viewed by “outsiders” as someone other than the one that “watches the weight room.”
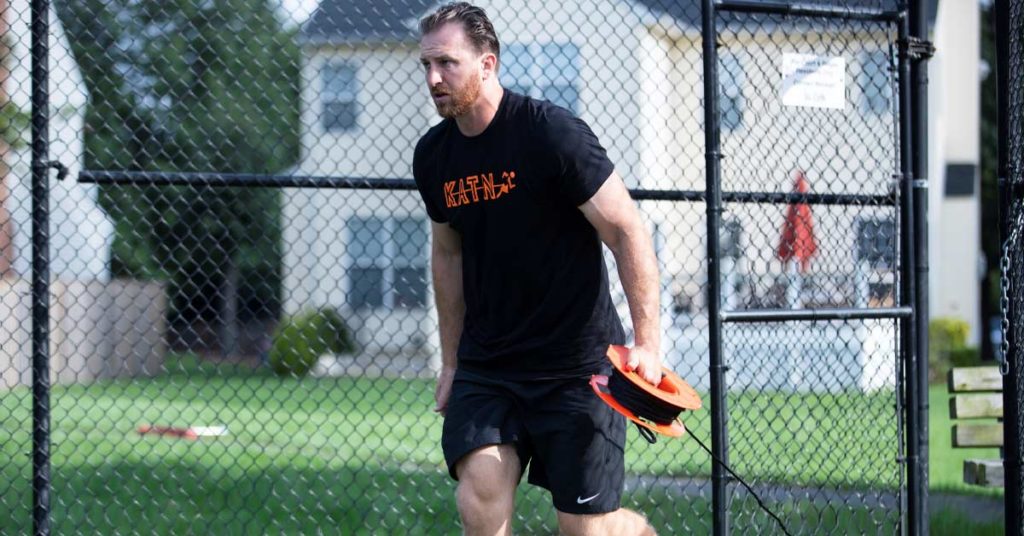
Lead photo by Torrey Purvey/Icon Sportswire.
Since you’re here…
…we have a small favor to ask. More people are reading SimpliFaster than ever, and each week we bring you compelling content from coaches, sport scientists, and physiotherapists who are devoted to building better athletes. Please take a moment to share the articles on social media, engage the authors with questions and comments below, and link to articles when appropriate if you have a blog or participate on forums of related topics. — SF


 Kim Goss has a master’s degree in human movement and is a volunteer assistant track coach at Brown University. He is a former strength coach for the U.S. Air Force Academy and was an editor at Runner’s World Publications. Along with Paul Gagné, Goss is the co-author of Get Stronger, Not Bigger! This book examines the use of relative and elastic strength training methods to develop physical superiority for women. It is available through Amazon.com.