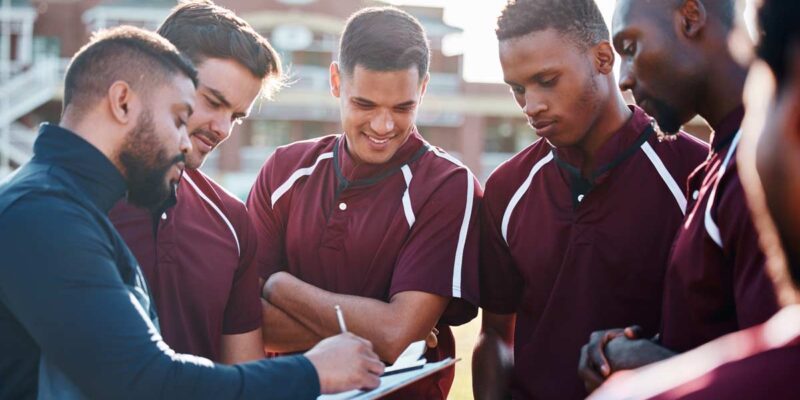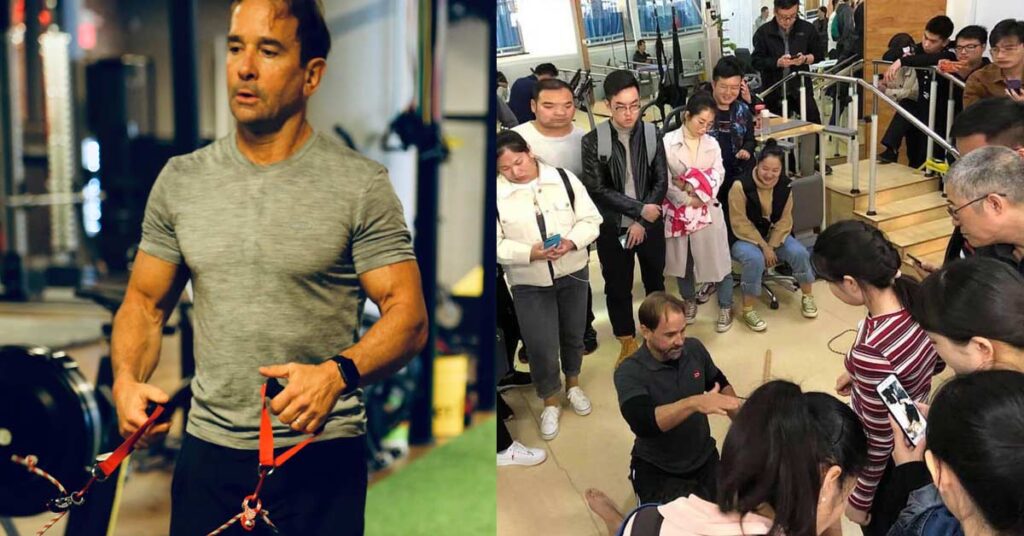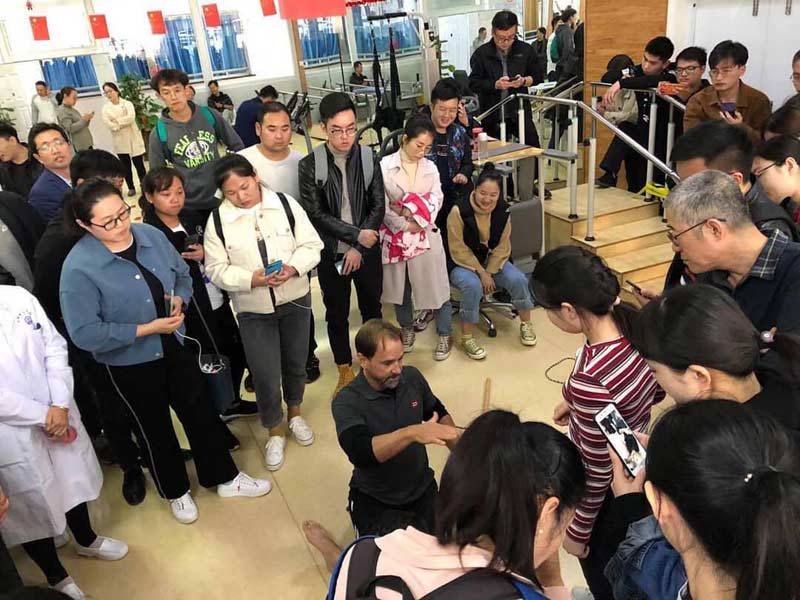
Nick Brattain serves as the owner and founder of Brattain Sports Performance (New Orleans, LA), an adjunct professor for Tulane University, and the National High School Strength Coaches Association (NHSSCA) Louisiana State Director. Nick also co-host’s the Business of Speed podcast with Steve Brietenstein.
Freelap USA: In regard to Brattain Sports Performance, how do you describe where you’ve been, where you are, and where you want to go?
Nick Brattain: I’m originally from the Indianapolis area, born and raised, and I went to the University of Indianapolis. I was a track athlete—really started out as a mediocre track athlete but then graduated as a four-time All-American in the 400. I say that only because it taught me what really good training will do.
My first position out of school was at Indiana University Health, which was a hospital organization in Indianapolis. I was their sports performance director, so I oversaw all sports performance training and also school training and high schools; that included five area high schools and two college strength conditioning coaches.
The NBA and NFL both went through their lockouts during that time. We were the healthcare providers for the Colts and the Pacers, and we became their training partners—they used our facilities every day, which gave me the opportunity to work with a lot of those athletes as well as their agents. One of those relationships I developed was with Eric Gordon and his agent, Rob Polenka. Rob Polenka was also Kobe’s agent (and is now the GM for the Lakers).
In 2014, I moved down to New Orleans to be a strength and conditioning consultant for the New Orleans Pelicans, as well as the personal trainer for Eric Gordon—I did that for three years and then ultimately was just ready to get out of the NBA.
I had the goal of opening a facility that catered to the individuals who didn’t receive the attention—volleyball, baseball, basketballs, golf, tennis, swimming, track—and trying to fill those needs. Share on XI felt like there was a need for sports performance training here in New Orleans. I had the goal of opening up a facility that catered to the individuals who didn’t receive the attention— volleyball, baseball, basketball, golf, tennis, swimming, track—and trying to fill those needs.
We opened in 2016, and we’ve been running ever since. I was a high school strength and conditioning coach for five years (Isidore Newman School), and then, ultimately, the business grew too large for me to be away from it for 8 to 10 hours a day every day. In 2020, when we had our daughter, I stepped away from the high school and just ran the business full-time at that point.
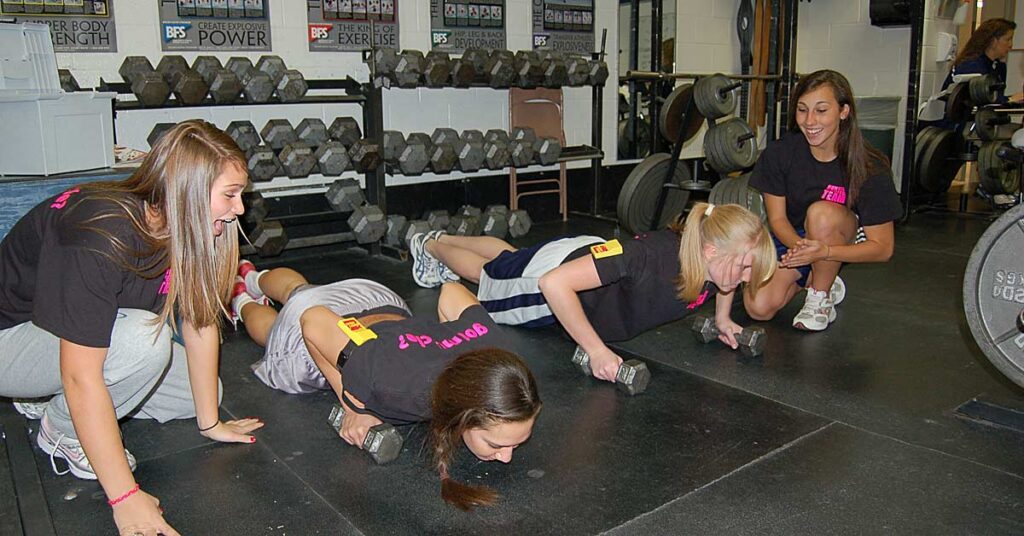
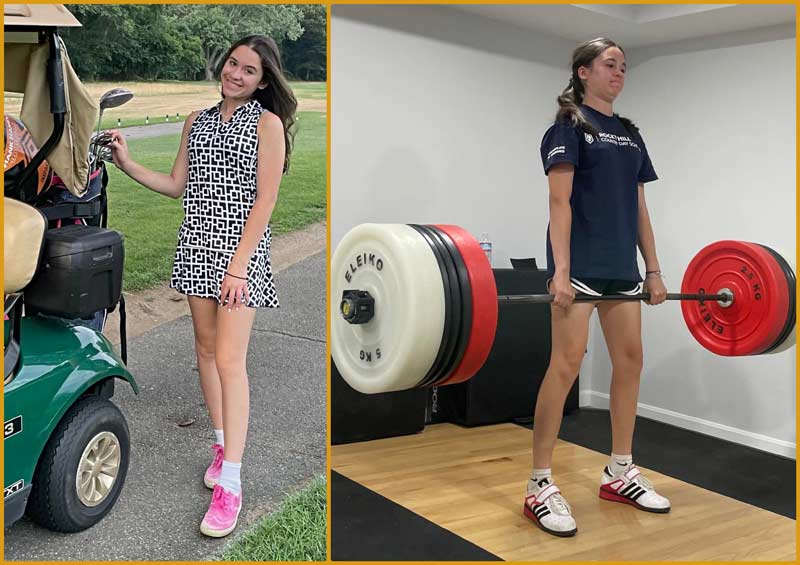
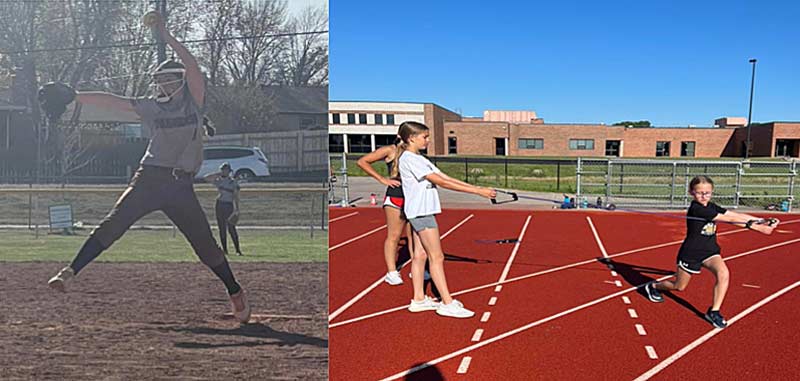
We’ve been growing and evolving since, with athletes from 9 to 10 years of age all the way through adults in their 80s. We offer a lot. Everything we do is semi-private training; we don’t offer groups, classes, or anything like that.
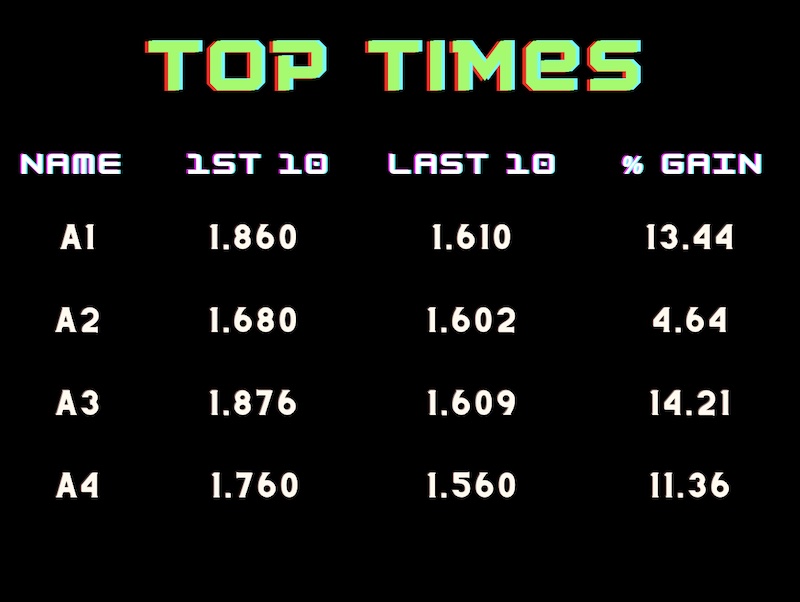
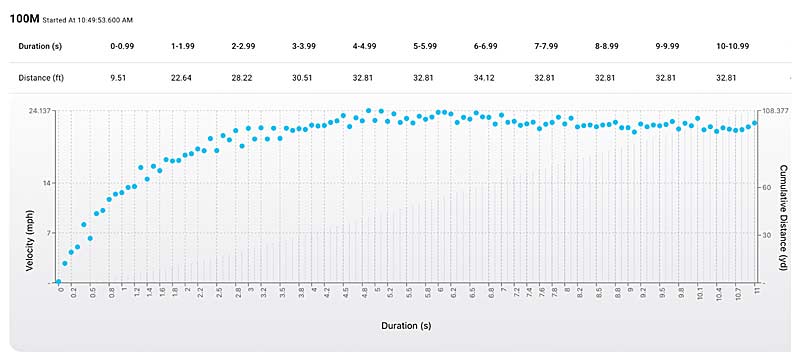
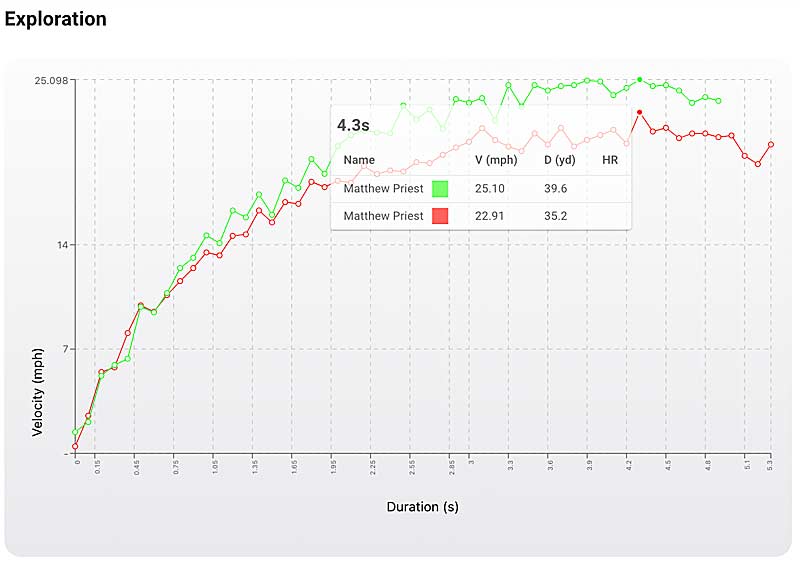
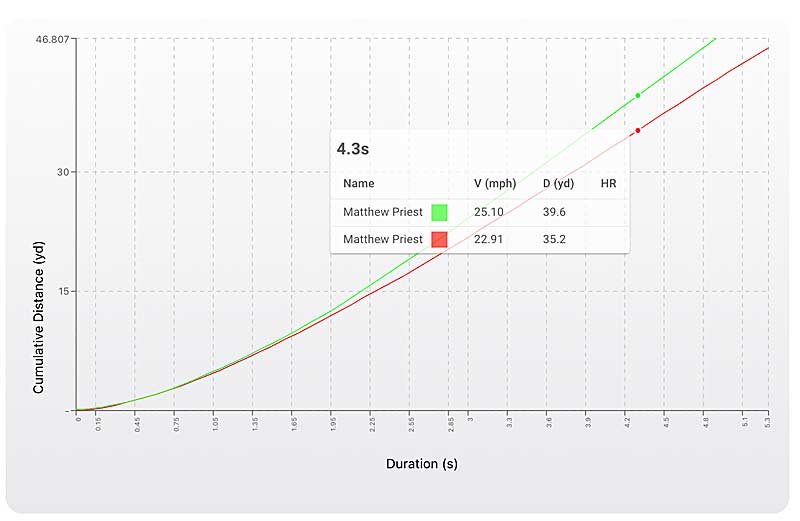
Everybody has individualized programming. We do a lot of speed and agility work—obviously, with my background in track—and we’re kind of known for our speed programs. Our goal is to serve the underserved and give answers to individuals who really didn’t have those resources years ago.
We have classrooms that have sports psychology, nutrition, massage, physical therapy, yoga, etc. We have a little bit of everything, including a smoothie snack shop. Ultimately, the goal is to be able to do everything that you need to do under one roof.
Freelap USA: What unique lens have your experiences added to your perspective on the private side of the business? There’s certainly a change of pace.
Nick Brattain: The change of pace, it’s always unique. What really took me away from high school was the monotony of it—seeing the same groups day in and day out and doing the same workouts day in and day out. I loved it for a time, especially when we got to COVID-19, and we had to start breaking up the workouts and doing smaller groups.
A perfect example of this change of pace came just this morning. At 8 a.m., I worked with three individuals in their late 70s/early 80s. Then, in the next hour, I worked with three professional baseball players. Two hours later, I had a high school softball team. Tonight, we have a bunch of volleyball players who are between matches. There’s just such a variety there. You get to know individuals on a one-on-one basis.
We’ve got a girl who’s training right now; I think we’ve been working with her for seven years. She’s a senior, and just the level of development that we’ve had…you don’t have that with everybody.
There are some individuals who come in, and after 10 weeks, they’re done. You don’t ever see them again. But there are also other individuals who come in, and they buy into what you’re doing, and you’re able to see them for so many years and do so much with them. And because it is so individualized, you can create something for them and play with different protocols and programming periodization because you have that opportunity.
I just love the freedom and how every day can be a little bit different. I’ll be honest, I work 10, 12, 14 hours a day, every single day, but it doesn’t feel like that because there are so many different things that we’re doing.
Freelap USA: Coming up on a decade, what would you say is the biggest thing that you learned in your first five years in the field and the biggest thing you’ve learned in the second stretch of five years?
Nick Brattain: In the first five years of entrepreneurship, you have to be willing to do anything: to do anything at any time for anybody. For example, there would be club coaches who would call me on a Sunday at 9 a.m. or 10 a.m. and say, “Hey, we want to run a showcase today. Can you be here in two or three hours to run the timers on the 60-yard dash?” And I’d jump at the opportunity because I got to be in front of 300 baseball players who I didn’t know. And those same club coaches try and do that to me today, and we just don’t do it—we have to have some level of preparation.
Part of it was getting used to the culture in New Orleans. I was used to being in Indianapolis, where Butler had a great program, Ball State had a phenomenal program, Indiana, Purdue. I could pull interns and coaches, and employees from anywhere. I moved down here, and there are three universities that have a kinesiology program. My first four or five employees were not from this area.
There were people who I hired from Indiana, New York, Michigan, and Iowa who had to move down here because there just wasn’t a program down here. So, the first five years were truly just scratching and clawing and trying to create every opportunity for ourselves.
In our second five years, the focus was on how we create the systems and organisms to keep this thing running. We’re at a place now where it is very easy for me to become the bottleneck and slow down our progress. Now we’re at a point where it’s how can I empower other people? How can I enlist them to take ownership of what’s going on?
If we want to continue to grow, if we want to continue to have the success that we’ve had and continue this rate of growth that we’ve had, how do I empower others to take on these roles?
Freelap USA: How would you describe your current projects that involve community engagement, projects, outreach, and collaborations? What’s the key to creating those opportunities for yourself and your business outside the facility?
Nick Brattain: My big thing is that you have to solve problems for people. You have to solve the problems and the issues that they have, and they may not even know that they have them. When I go to meet with teams, with clubs, with high schools, it’s letting them know that we’re going to help them out.
The biggest issue with an outdoor sport is what to do when it rains. You have to call off practice. If I can step in and give you another option, then you become the hero to the parents and athletes. Share on XFor example, there’s a soccer club we work with, and the biggest issue when you’re in an outdoor sport is, well, what do you do when it rains? You have to call off practice. If I can step in and give you another option, then you become the hero. You become the hero to those parents and those athletes who don’t want practice called off.
They want to compete. They want to continue to play. So, when I can step in and say, “Hey, we’ve got a facility for you, and here’s what we’ll do—if it rains, just give me at least a 30-minute heads-up, and I’ll have a classroom ready for you. I’ll have a coach ready for you. Half of your team can go into the classroom and do film study; the other half can do strength and agility work with us. Then, halfway through the session, we’ll flip them.”
We work in athletics. Everybody is competing. They are all trying to get a leg up on the school down the road. And so they may not have the funds. They may not have the knowledge. They may not have the space. How can we step in and give them an advantage? Again, I think the big thing is trying to find those groups, think, what are they missing? How can we be a resource to them to give them a leg up? And then be able to step in and fill that void. Because, at the end of the day, all of these other groups, they’re businesses too.
Freelap USA: BSP has been affected by some natural disasters. Can you briefly touch on what happened, as well as your advice on how to overcome these types of issues, whether actual natural disasters or basically unpredictable circumstances beyond any coach or business owner’s control?
Nick Brattain: I feel like all of BSP’s history is just one hiccup after another. We’ve dealt with several hurricanes, including Hurricane Ida. We went through a move into a new facility, where we then went up against the city and saw significant pushback from them. New Orleans is getting ready to deal with what’s called a “saltwater wedge,” where basically all the drinking water in New Orleans will be no good. Entrepreneurship is not for those with a weak stomach.
As an athlete, I learned to deal with issues. Whether it came to gaining and losing starting roles or whether it came to injuries, there’s no changing the spot you’re in. You have two choices: stop and walk away or put your head down and work through it, taking it one piece at a time.
It is extremely daunting when a Category 4 hurricane hits your city when you’re in a completely different city, and you don’t know if your house is there, if your business is there, if your clients will return, or how quickly you’ll be able to come back. The initial report for Hurricane Ida said that we wouldn’t get power and electricity back for three months—that leaves you trying to figure out, “How am I going to get back there? And when I do get back there, what am I going to do?”
I had employees who stayed in the city, so I felt a responsibility to get back and help them. I think it comes down to taking one task at a time: What is the next thing I can do?
Freelap USA: You’ve made a recent addition to the BSP family with facility number two. What is that process like, and when do you want a facility versus when do you need one?
Nick Brattain: You only need a facility if you want a facility, and you should want a facility because you want to run it, not because of prestige. Not because you feel like it’s the next step.
So far this week, I’ve been a plumber, I’ve been a roofer, I’ve had to deal with client service issues, I’ve had to deal with the electric company. None of it has to do with coaching. There is very little that I’ve done this week that actually is coaching.
When you move in, when you step into a facility, you put on a lot of hats. And when this facility gets bigger, you just have more responsibilities.
I’ve always wanted to have a facility that I can call mine. I’ve always wanted to have a brand that we can continue to grow. I’ve done training in parks and rented other facilities, and I don’t like it. I like knowing that when I wake up in the morning, I have a spot to drive to and unlock the front door. I turn the lights on, and all my equipment is there; everything is ready to go there. There is very little that I am not in control of.
I’ve always wanted to have a facility that I can call mine. I like knowing that when I wake up in the morning, I have a spot to drive to and unlock the front door, says @nick_brattain. Share on XOnce I start bringing in other professionals, they’re counting on me. They’re counting on me to make sure that they have a building they can go to. They’re counting on me to make sure that there are clients coming in the door. It’s a lot of weight on my shoulders.
As far as the numbers go, I always like making decisions based on my slow times. When I was in Indianapolis, we had a 25,000-square-foot facility. It was massive. Inevitably, when you’re in there coaching one person, that athlete is uncomfortable. There’s no excitement. It’s hard to bring the energy in there. But you shrink it down to a 10,000- or 8,000-square-foot facility, and you pack it out with 50 people, there’s a ton of energy and excitement. You need to make your decisions based on what your slow hours look like.
It needs to always be a comfortable environment to be in. I think that just because you have the money to move up or take another step, that’s not necessarily the best time to be making those calls.
Since you’re here…
…we have a small favor to ask. More people are reading SimpliFaster than ever, and each week we bring you compelling content from coaches, sport scientists, and physiotherapists who are devoted to building better athletes. Please take a moment to share the articles on social media, engage the authors with questions and comments below, and link to articles when appropriate if you have a blog or participate on forums of related topics. — SF