Jim Klopman is a lifelong innovator who has always been one of those people who thinks differently. He believes balance training has sharpened his ability to make new neural connections and see the possibilities and pathways that others miss. Originally, Jim was looking for a way to maintain his own athletic performance well into his 90s. But the Slackbow Balance Training System he developed turned out to be a key to whole body and mind fitness that was even more revolutionary than he could have imagined. Jim is eager to spread his knowledge, techniques, and tools far and wide to help seekers like him tune their brains to perform better in work and sports, sleep better, look younger, and live longer.
Freelap USA: Your company is dedicated to optimizing balance and innovating balance training. How did you find yourself in this space, or did this space find you?
Jim Klopman: I had my own itch to scratch. I wanted to continue to perform at a high athletic performance level into my 80s and 90s. What I saw was that most athletes just fade away until they just suck. Logically, this does not make sense.
With the great strides in fitness science, we can be as strong in our 70s as we were in our 40s. Therefore, strength is not a factor.
Diminishing eyesight is not a factor because we can buy better eyesight. And loss of skill should not be a factor either. The more you do something, the better you get.
So, my burning question was, “What is it that causes athletes to age out?”
Through dogged determination, I discovered that it is the unrecognized and subtle loss of athletic balance.
Freelap USA: The sports performance world seems to be divided when it comes to balance training. Can you tell us a few myths about balance training that you commonly see, and how the sports performance industry can improve in this realm?
Jim Klopman: Wait a minute, let me put on my safety suit so I can deflect all the shots I am going to take after answering this question.
Myth numero uno is “balance training” with your eyes closed. When a trainer does that, they are essentially training the athlete to be a well-balanced blind person. The balance system is a huge neurological system that takes data from the bottom of the feet, the proprioception system, the body mapping system, the vestibular system, the tongue, the palms of your hands, and your vision.
Why shut off one of seven systems?
No one seems to understand that the eyes don’t see. They are data collectors only. We have a huge amount of information and research on the brain’s processing of that data, especially how it is a key component of balance and athletic performance.
Myth number two is that 60 years of balance research does not show any improvement in performance. I have read most of the research, and except for a couple of studies, they all have ineffective methods and poor outcomes measured.
As heads explode with “How can you challenge science,” keep in mind that it was just discovered that 30 years of Alzheimer’s research was based on fake research and that serotonin has nothing to do with depression though billions of dollars’ worth of SSRIs have been sold to depressed people.
Disregard the research for just a minute. Ponder this: can you swing a baseball bat faster than what your balance system will allow? If you do, you fall over. Do you think you can change direction any faster than what your balance system will allow?
Or how about spending five 15-minute sessions of dynamic athletic balance training and seeing if you notice an improvement? Honestly, if you try it, you will be blown away by the improved outcomes.
Myth number three is that tree pose, pistol squats, single-leg RDLs, etc. are valuable dynamic balance training methods. All are great in their own way, but they create balance in positions never used in sport or life. These are not dynamic balance training methods. To train dynamic athletic balance, one has to be dynamic—that is, free to move and not having to hold to a position, and they also have to be in an athletic body position.
I have more, but I’ll stop here.
Freelap USA: When you see athletes, coaches, and trainers from around the world referencing your book, Balance is Power, and using your products, like the SlackBlock, how does it motivate and inspire you to keep innovating?
Jim Klopman: I don’t necessarily need motivation to innovate. I can retain pieces of information from different sources along with good observation skills, then integrate them all into useful products and protocols.
I knew our success would be a long time coming, but not this long. Now I am motivated to see the work get more distribution throughout the strength and conditioning world. Not only because of the improved performance but because of the reduction in injury rates and the faster return to play after injuries.
I want everyone to have a KBI (Klopman Balance Index) score from 1–100. We have quantified information for every other part of our fitness and performance, now we need the KBI. Then we can correlate performance, injury rates, and even concussions to our KBI.
Ultimately, I would like to see strength and conditioning coaches rename their profession to strength, conditioning, and control coaches.
Freelap USA: As an innovator yourself, what are some of your favorite tools and resources to use in training and in business?
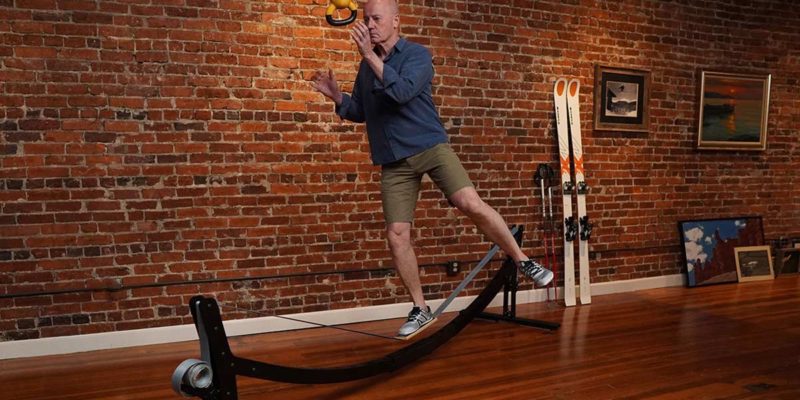
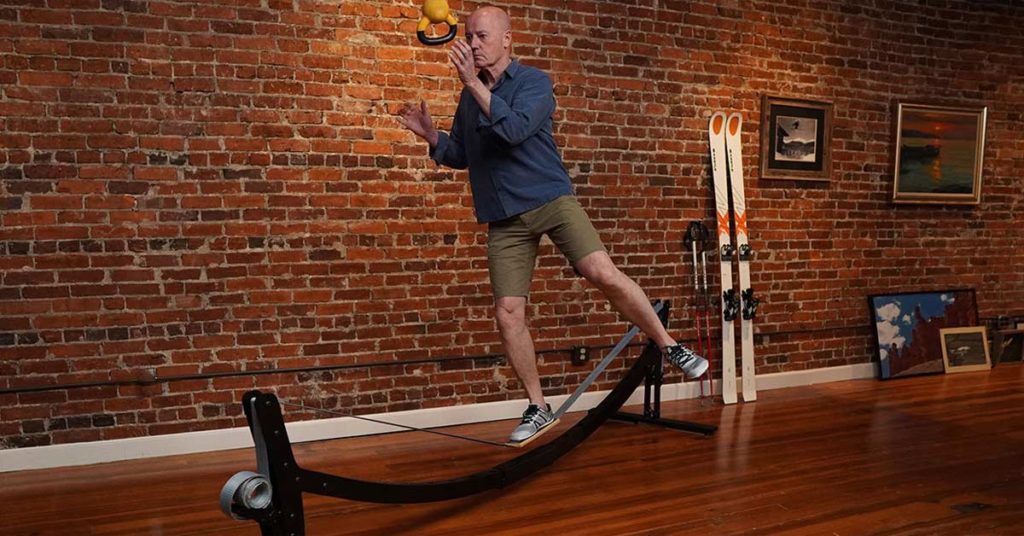
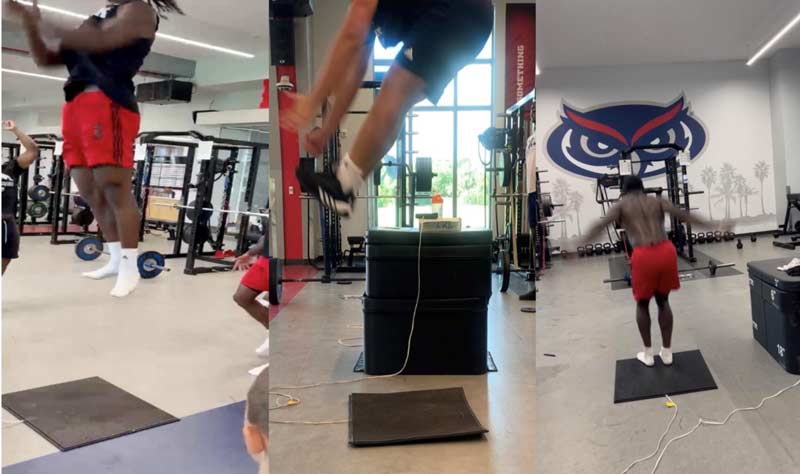
Jim Klopman: I like soft plyo boxes, BOSU Balls done right, kettlebells, and balance boards. Shameless plug: we are coming out with our own line soon.
I am an athlete all day, and I move like an athlete all day. My tools are Xero shoes. I am always strengthening my feet. I walk like an athlete. We teach all of our clients how to walk like an athlete. I move up and down stairs in a balanced, challenging, athletic way. I do the same walking trails and moving through airports.
And no, I don’t stand on one foot while brushing my teeth.
Freelap USA: Lastly, can you give our audience some low-hanging fruit in terms of balance training? What are some simple bang-for-your-buck drills or exercises we can have our athletes do with or without balance training tools?
Jim Klopman: Simplest one is this…
Get into an open area. Make sure nothing is nearby to stumble on or hit your head on. Kitchens and bathrooms are bad choices. Get barefoot. No socks. Socks are floor skates—too slippery. Grab a dining or folding chair with a normal back that ends up around waist-high.
Starting with one foot on the ground, put that same-side hand on the chair for assistance. Take the other foot and move it two foot lengths back from the heel of the foot on the ground. Not behind but back into space. This forces the body into an athletic position. Essentially, the back foot’s toes will be touching the ground with the heel elevated.
The front leg’s knee should be over the big toe with your head and chest up. While keeping your hand on the chair, lift the back foot/toes 1–2 inches off the ground. This is important… lifting too far off the ground takes you out of position.
You should feel your grounded forward foot big toe being fully engaged. Don’t hold still. Allow the body to move. Just keep in mind that the back foot needs to stay behind and be close to the ground.
It seems easy at five seconds, then 10 seconds, but at some point, it gets difficult.
Do this for two minutes of attempts on each side, shooting for a full two minutes without breaks.
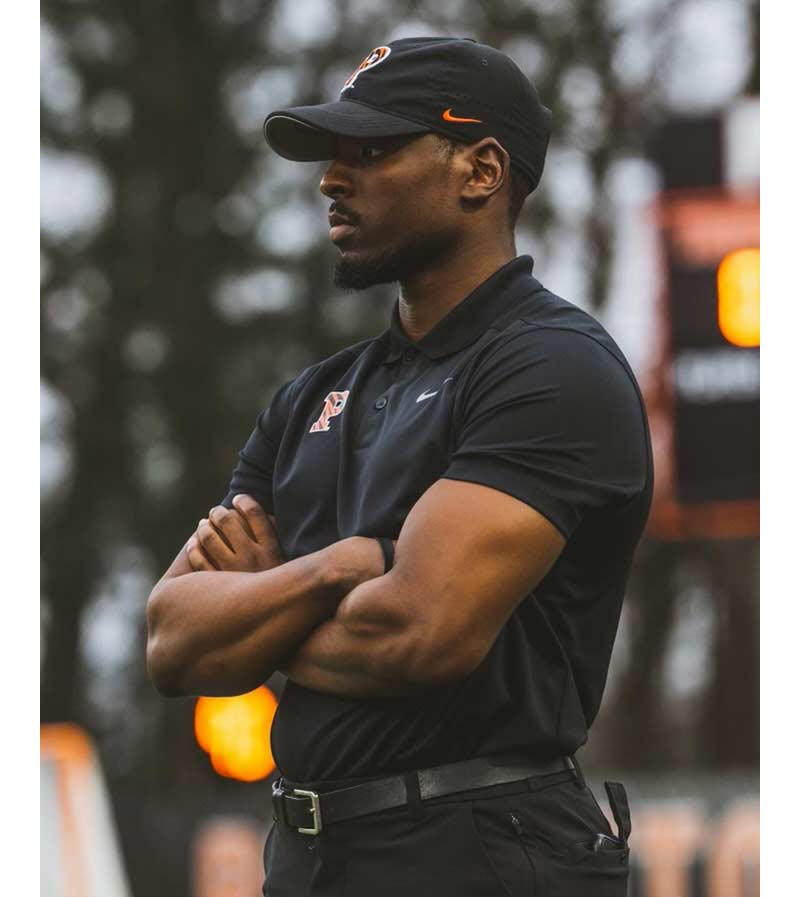

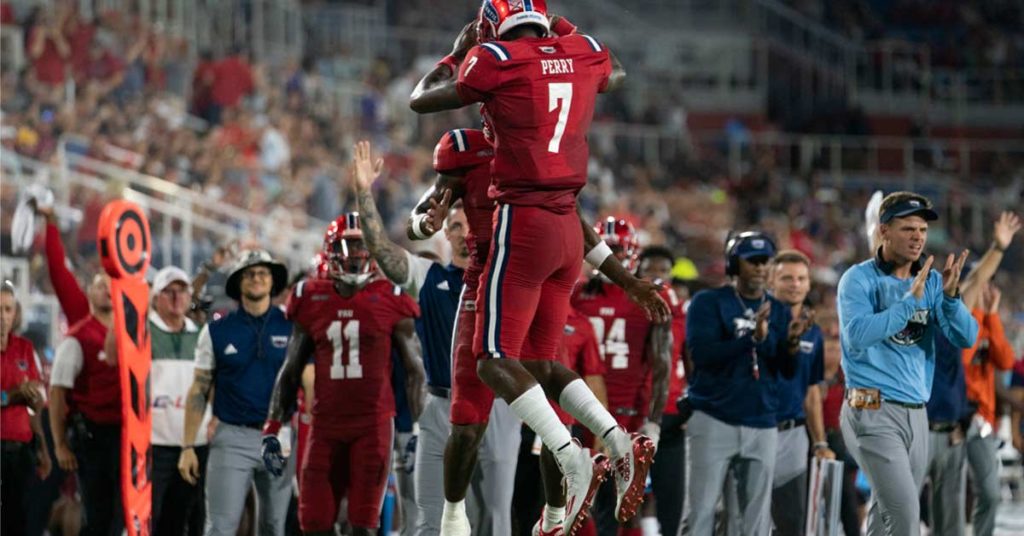
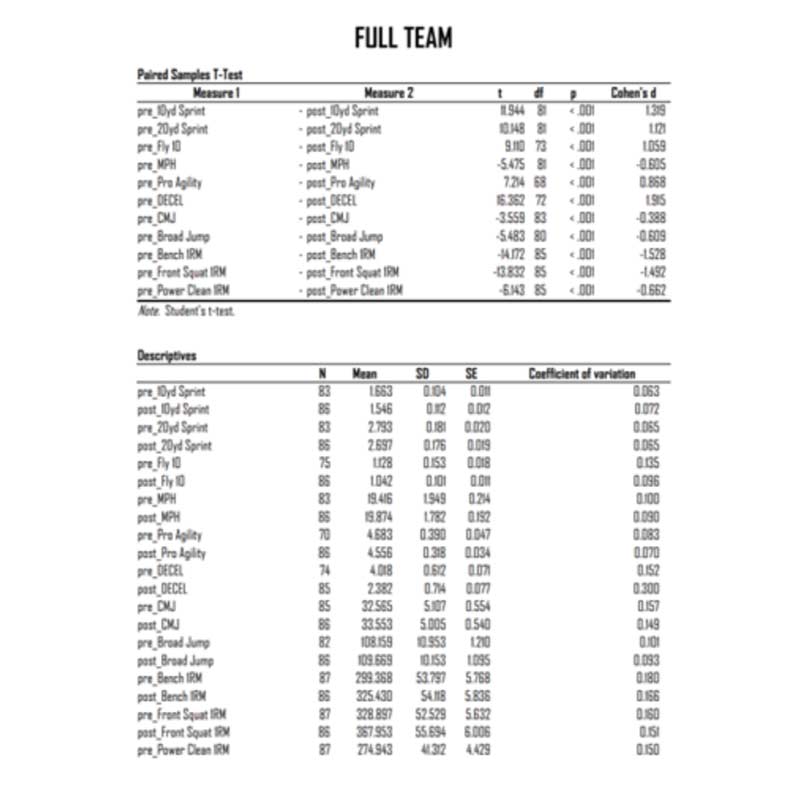
 Dr. Chad Herring joined the Florida Atlantic University Football program in May 2022 as the Director of Sports Science. Prior roles include serving as the Director of Performance for DIA Sports Performance (private sector), Head Strength and Conditioning Coach at Angelo State University (NCAA Div. II), and a seasonal Strength and Conditioning Coach for the Tri-City ValleyCats (Houston Astros minor league affiliate). Chad earned his B.S. from Ithaca College, M.Ed. from Angelo State University, and Ph.D. from the University of Central Florida (UCF). While at UCF, he worked on various sport science projects with the Men’s Soccer, Women’s Rowing, and Women’s Volleyball teams. Additionally, his dissertation was completed with the UCF Softball team, titled “Utility of novel rotational load-velocity profiling methods in collegiate softball players.”