
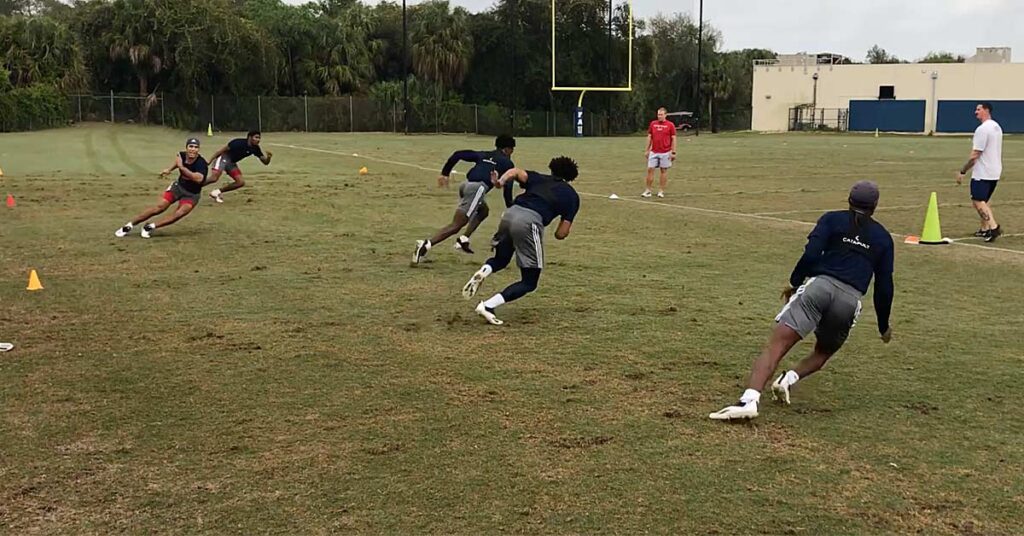
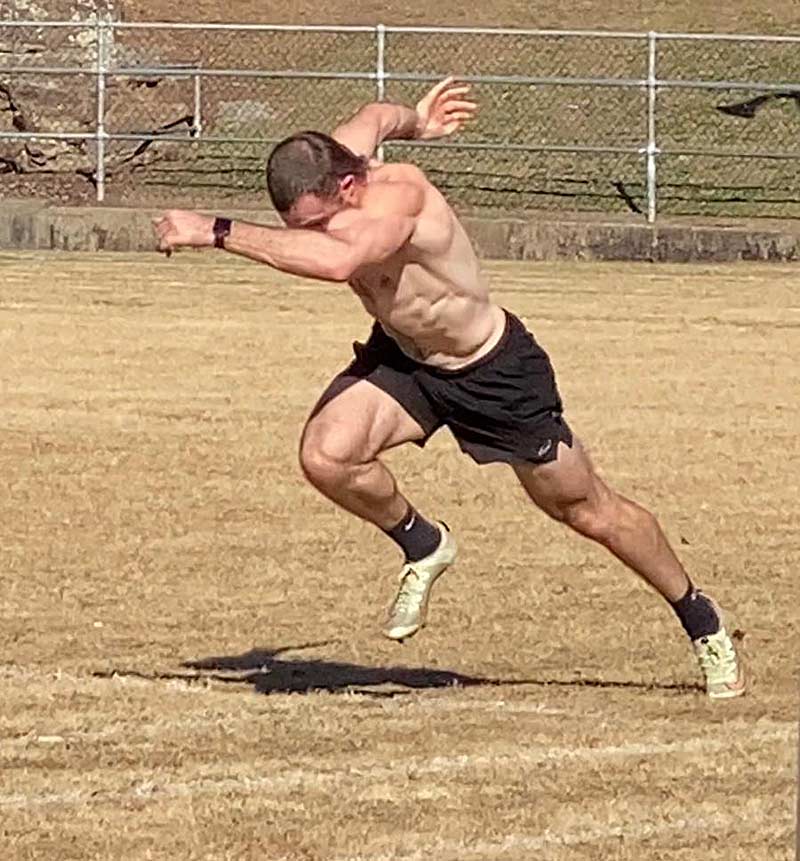
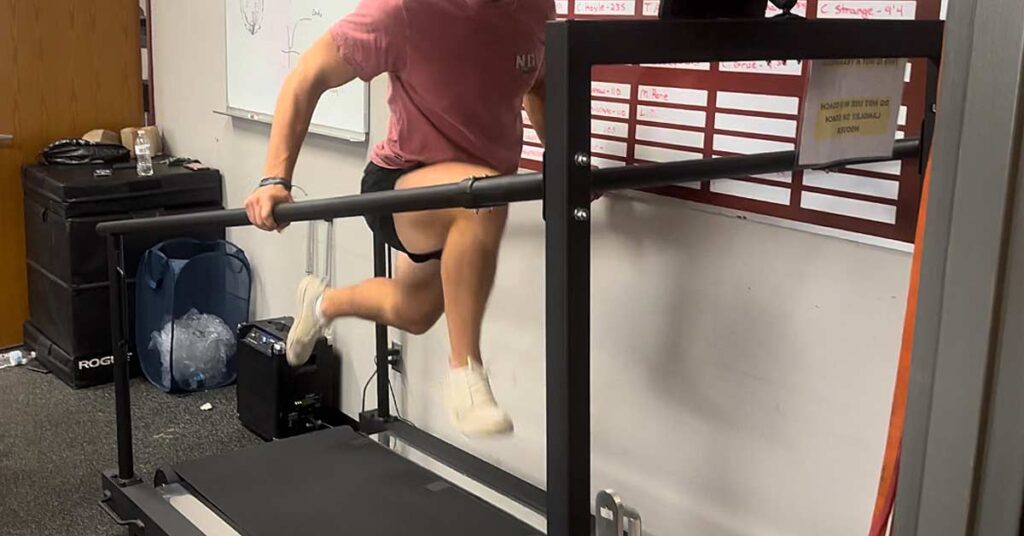
In terms of specific pieces of training technology, I believe the timing laser is undefeated—it’s affordable, specific, and simple for measuring speed. However, timing lasers should not be left to collect dust in your closet between pre-tests and post-tests. Your timing lasers should be used as often as you sprint (which is every session, right?).
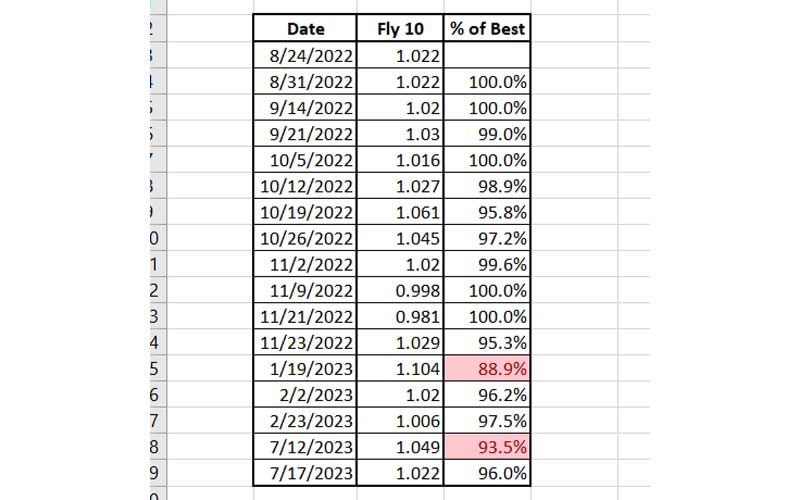
Here’s an anecdote to illustrate my point: a high school baseball player of mine who—over the course of the first year he started training with me—consistently ran 1.03 seconds or lower on his Fly 10 Yard Sprint, with a personal record (PR) of 0.981. This summer included him playing in 3- to 5-day-long tournaments, as well as trying to see me once to twice a week. Eventually the back half of summer came, and he was a little sluggish and didn’t have the same energy as usual. For two weeks in a row, he ran Fly 10’s in the 1.06’s and 1.07’s. Although this might not seem like a big drop—just a few hundredths of a second outside his normal range from 0.98 to 1.03—it is a lot in the speed world. This data stood out as a particularly red flag because I knew how consistently fast he could run because I had his data from across the entire previous year.
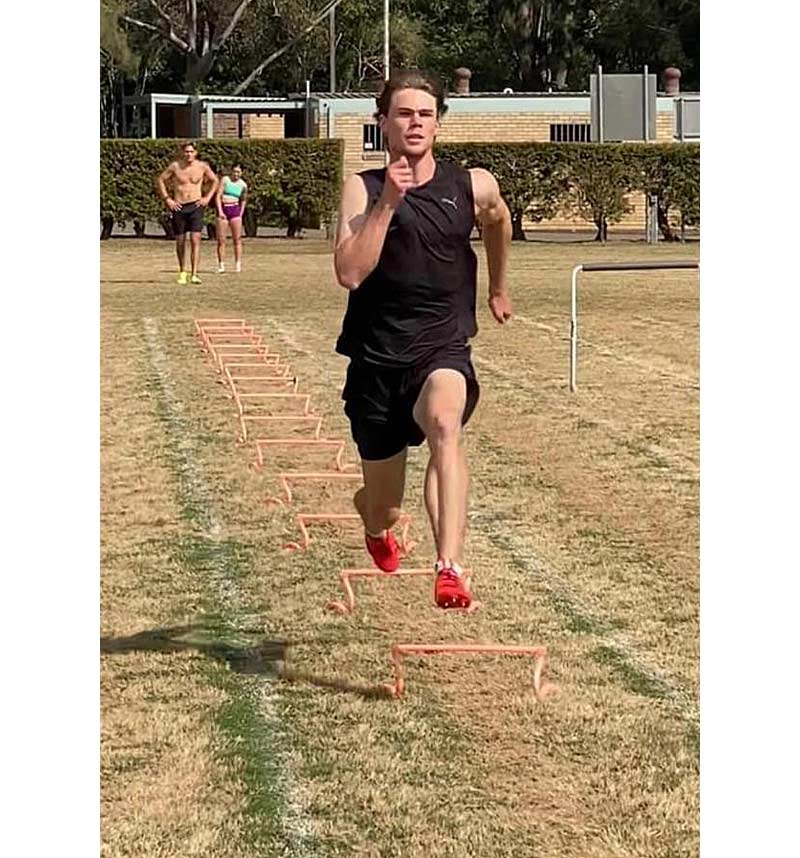
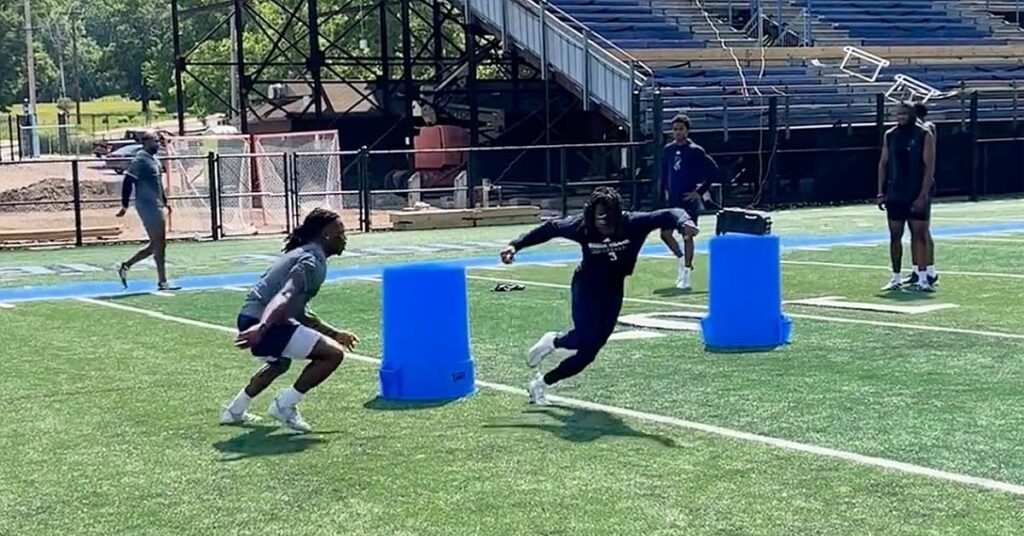
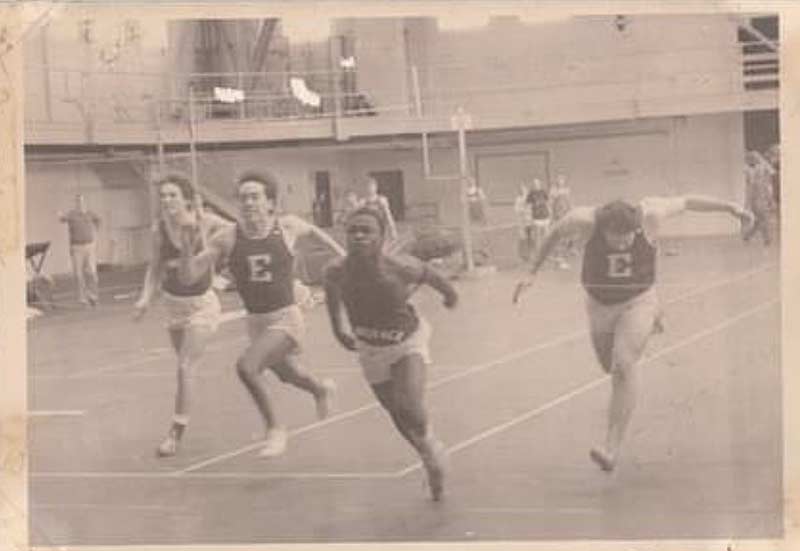
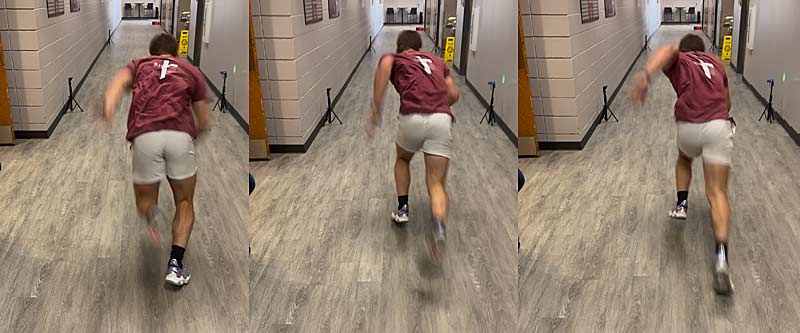
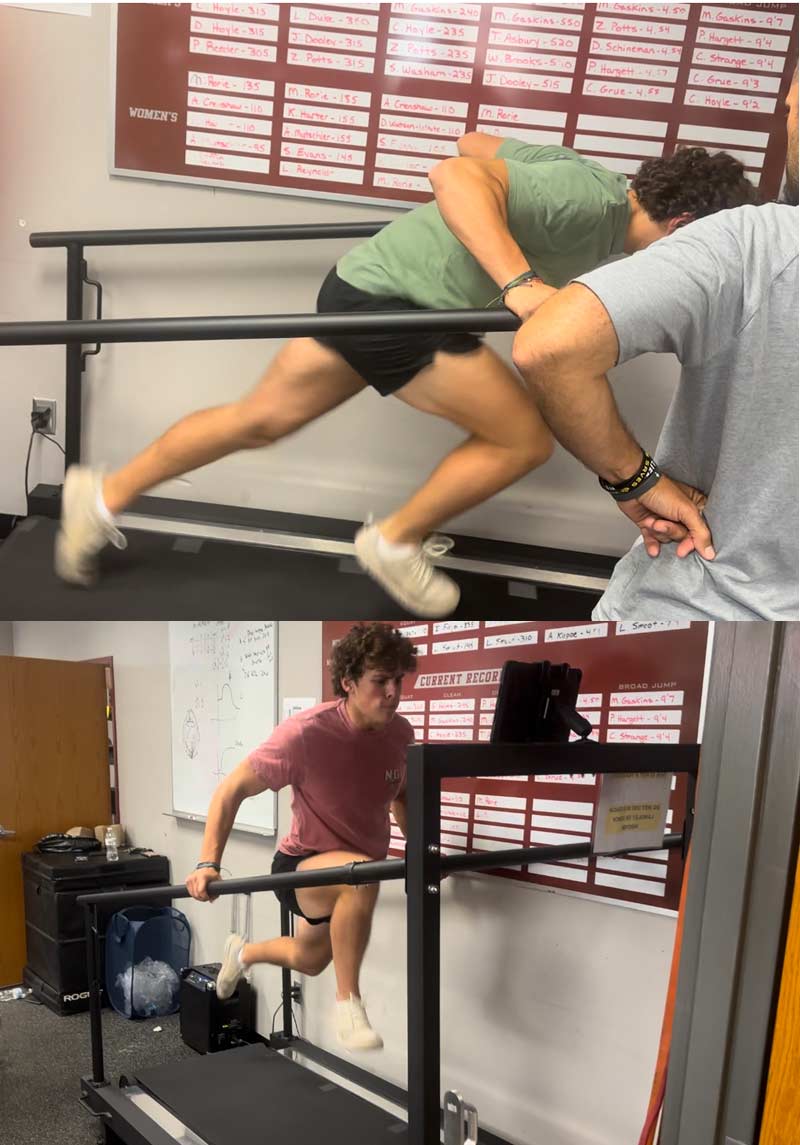
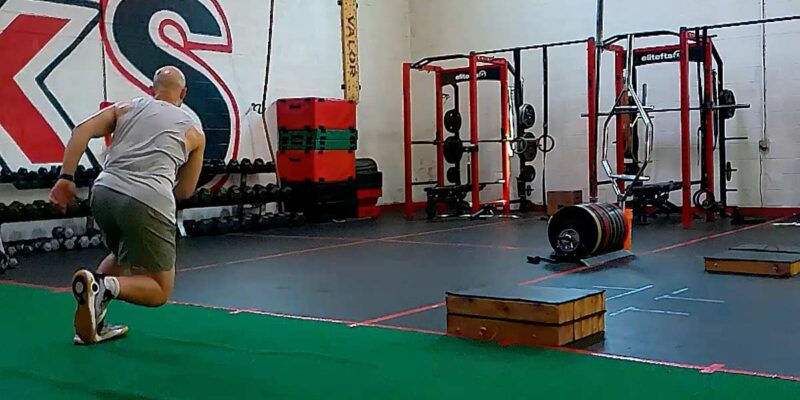
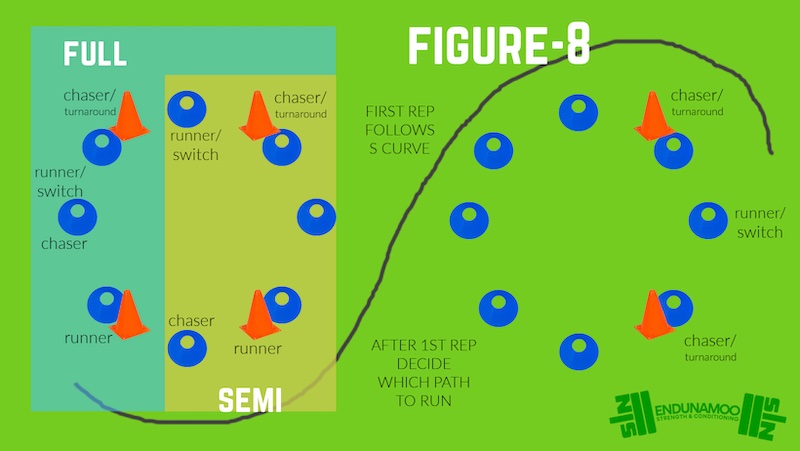
Video 1. A video compilation of Flying 10’s and how quick a rep is and how clearly the feedback can be displayed. By the athlete seeing every result in the process, they’ll get a feel of what a good or bad rep is for them, aligning their intuition with the quantitative feedback.
I inquired about how baseball was going and what he was doing on his own. Shocker, it was the usual culprit for most of my high school boys: too much lifting on his own plus a bunch of sports that rendered a lot of systemic fatigue. He was lifting once or twice A DAY on his own on top of everything else. I’m all for hard work, being self-motivated, and learning how be self-sufficient with training, but there can definitely be “too much” in training just like there could be “too little.”
I’m all for hard work, being self-motivated, and learning how be self-sufficient with training, but there can definitely be “too much” in training just like there could be “too little,” says @CoachBigToe. Share on XSo, what was I going to do about it?
Having seen some of his slowest sprints of the previous 12+ months and knowing the likely cause, I suggested a deload week (which I’ll explain later), recapped the total volume of sport and training he did throughout the summer up to that point, and explained how everything in training is a give and take between performance and fatigue. I ended with why I believed he should consider taking a deload week and what actions to take to turn this theoretical deload week into real life. Solutions included:
- Turning “light days” into 100% off days.
- Cutting the total duration of running sessions in half.
- Cutting total lifting sets in half.
I assured him that we would still run fast and lift heavy, but successfully decreasing the volume was the most important variable to achieve our deload.
Fast forward a week from that conversation, he came in and said “Coach, I feel great! I did what you said and actually took an off day yesterday and only went to the beach.” Then, during our Fly 10’s of that session…a new PR of 0.977.
If I didn’t have weekly Fly 10 data from him and if I didn’t have a percentage threshold to use (+95%), I might not have known when to open up that conversation and how to justify my recommendation. Weekly sprint times (both acceleration and top speed) are the most specific readiness numbers you can get, an awesome training stimulus, and objective justification to help guide every other conversation and decision relative to training.
Weekly sprint times (both acceleration and top speed) are the most specific readiness numbers you can get, says @CoachBigToe. Share on XFour reasons you should time your sprints every week are to:
- Hit the right speed thresholds with sprints.
- Increase opportunities for peak/PR numbers.
- Assess readiness.
- Build athlete buy-in.
1. Timing Sprints Makes Sure the Athletes Are Actually Sprinting Fast Enough
I’ve written on Charlie Francis’ 95% threshold before, which simply states that 95% or better of an athlete’s best time is “high intensity” and fast enough to cause speed adaptations over time. For example, if an athlete’s best is 1.00 second, then they are trying to hit 1.05 or faster. In theory, this concept makes a ton of sense. Although you can say you’re training top speed and your athletes can do flying sprints, how do you actually know if they’re going fast enough?
By timing the sprints.
That’s a core principle of sport science: answering “are we actually doing what we say we’re doing?” Are we hitting +1.0 m/s on a barbell squat jump? Based on training load during the past week, was it actually a deload week? When it comes to speed training, are you actually hitting speeds that are fast enough to get faster? It’d be pretty tough to know without a doubt if you’re not timing the sprints.
On the flip side, I’ve had situations where my athlete was below 95% on their first sprint and the cause was a too-relaxed effort or a too-relaxed warmup. But again, it justifies that conversation, so I truly know what’s going on with my athlete regardless of whether it’s positive, negative, or neutral.
Additionally, we know the training residual for speed (how long speed lasts after not being trained) is 5 days ± 3 days, or basically a week. When you’re in-season and are programming Flying 10’s once a week and want to make sure your athletes don’t lose their speed, how do you know they’re sprinting fast enough to keep their speed? Because the last thing you’d want is to assume the speeds are being met when they actually aren’t, their speed detrains, then it shows up negatively on the field a week or two later.
The last thing you’d want is to assume the speeds are being met when they actually aren’t, their speed detrains, then it shows up negatively on the field a week or two later, says @CoachBigToe. Share on X2. Put Your Speed Eggs in Multiple Baskets
This next story actually comes from a friend of mine, who’s a performance coach for a professional soccer academy, where not having weekly timed sprints actually came at a detriment to training. In Week 1 of training, he tested all his athletes and baseline data was collected. Week 8 came for the follow-up testing and all the players were excited because they felt faster, and my friend was satisfied with how the training went. Unfortunately, the testing day didn’t go as planned and the results were not as good as anticipated. The athletes were discouraged, the coach was confused, and the soccer coaches had a lot of questions about the lack of results. Talking through this with my friend, we figured out the reason was because the athletes tested directly after a week-long vacation/break in training. It’s not that the athletes didn’t get faster, it was that the day they decided to test wasn’t the best day to do so.
Contrary to the initial story where my own athlete was still training during his deload, just at a significantly reduced volume, these athletes returned home and had no formal organized training for an entire week. Although their bodies were technically fresh after the break, their nervous systems were not primed and consequently not ready to sprint at very high speeds.
Not timing your weekly sprints is like taking a road trip and not checking the speedometer until you’re 1 hour away. If you know it’s supposed to be a 5-hour trip and a total of 350 miles, you would need to be traveling around 70 miles an hour the entire time. What if you go too fast and get a speeding ticket? What if you go too slow and miss an event you planned on being on time for? Although with 1 hour left you can make adjustments, that just might not be enough time to follow the original plan. But if the speedometer was checked more frequently, like every 30 minutes, although the original plan was very solid, you can make slight adjustments as you go to be as effective and efficient as possible.
Hindsight is always 20/20—but had the coach been timing the sprints every week, or even every other week, he could’ve shown improvement despite what would’ve been just one bad week at the very end. The coach could’ve reassured the athletes that they did an awesome job during the 8 weeks beyond just one week of regression and could’ve explained to the soccer coaches that athletes need a workout or two after a break to get the rust off and back up to speed.
3. Provides a Specific and Consistent Readiness Check-In
Sports performance as whole is centered around two things:
- Reducing the risk of injury.
- Increasing performance.
For most sports, sprinting faster is one of the main objectives and key performance indicators. The more specific the readiness check-in is to the sport and training objective, the more significant it is and more impact it will have in adjusting along the way.
We already know this in other sports. Baseball pitchers have their throwing velocity measured during a velocity improvement program to make sure it’s working, Olympic weightlifters measure their bar speed to make sure they’re in the appropriate zone to achieve the desired adaptation, and soccer players wear GPS to make sure the practice plan is being followed to be the freshest for game day. But if a bar speed is too high or low, the weight is increased or decreased to give their body specifically what they need that day.
Although there will always be ups and downs with how athletes’ bodies are feeling—training is hard and practices can be fatiguing—athletes can consistently hit the +95% threshold for sprints. As I found in my own data—presented in this article—my athletes are only above their 95% around 87% of the time. Knowing this, around 9 of every 10 workouts (if not more) my athletes can hit +95%—I consider anything below that threshold a red flag and I open up a conversation about how the athlete is feeling.
I consider anything below that 95% threshold a red flag and I open up a conversation about how the athlete is feeling, says @CoachBigToe. Share on XReadiness, at its core, is how ready the athlete is to attack an intense workout. Hence, this concept often applies to taking a deload as illustrated previously. Should you take a deload because it’s been a standard 4 weeks? What if the athlete has been getting faster and faster each week, should you keep going? After a deload, if the athlete was under 95%, was it effective enough to where they returned to above 95%?
4. Building Buy-In in the Speed Development Process
I hate to break it to you, but you can’t set a new PR during every training session. How else can we define successful individual training sessions? By hitting +95% of an athlete’s PR. Sport coaches use a “deposit” or “rent” analogy all the time, saying every day you must contribute towards the goal. But if we only counted new PR’s as paying rent, there would be a lot more evictions…
For athletes, this is a huge mental barrier they must overcome. Contrary to lifting, which is intentionally programmed with sub-max intensities like 75% or 90% of their 1 rep max, athletes sprint at 100% effort every time they sprint. Challenges arise because 100% effort doesn’t always mean 100% speed. Many factors must align to achieve not only 100% but also +100% (a new PR). Of the previous few days, they must have optimal sleep, nutrition, physical readiness, mental readiness, hydration, etc. What happens when one of those things is off? What about two? Not necessarily poor sprint times, but that isn’t going to lead to PR’s either. By timing sprints on a weekly basis, athletes can buy in and believe they are putting in deposits (because they actually are) when hitting +95% regardless of how often the PRs come.
Practical Action Items
A big assumption I’m making with my argument is that you’re doing full sprints with your athletes in the first place. And odds are, that’s true if you clicked on an article called “The Value of Weekly Timed Sprints”… so I’ll also assume that a speed training session for you looks something like this: warmup, jumps, sprint mechanics (slower drills), integration drills (medium speed), full speed sprints, then some sort of finisher. You’re doing full sprints anyways, so you might as well time them. Below are three solutions to help you time sprints with your athletes while still maintaining a high-quality training session.
You’re doing full sprints anyways, so you might as well time them, says @CoachBigToe. Share on X1. Racing
Although I’ve written in the past about the performance benefits of increased output when athletes race, it also applies to this situation. One athlete inside the lasers being timed, one outside the laser racing the other athlete. Twice as many athletes moving at once.
Training is a trade-off: the more athletes, the fewer individual things you can do. But let’s just assume you’re going to do three sprints anyways. One athlete in the lasers and one on each side of them on the outside racing means three times the athletes sprinting at once. Although you only get to time one of the sprints instead of all three, one timed sprint is exponentially more valuable than zero timed sprints.
2. Complexes
A complex is multiple exercises put together, going from one to the next to the next. Traditionally, complexes are used for potentiation: the prior exercise helps get more output on the next. For example, doing dumbbell squat jumps before a measured vertical jump can help the jump be even higher than if it was done on its own. Although that could be a benefit in a speed complex, the main benefit is fewer athletes per exercise (fewer athletes in the timing lasers as once).
Let’s say you have 30 athletes. Instead of trying to time 30 athletes at once, doing a three-exercise complex cuts that number to 10—10 athletes are doing a horizontal medball throw, 10 athletes are doing sled sprints, 10 athletes are being timed; then, they rotate so everyone does every exercise for one or two rounds. If you want to do fancy things (like timed sprints), it won’t always be the most optimal (like timing sprints first instead of using the other two drills to sprint faster later).
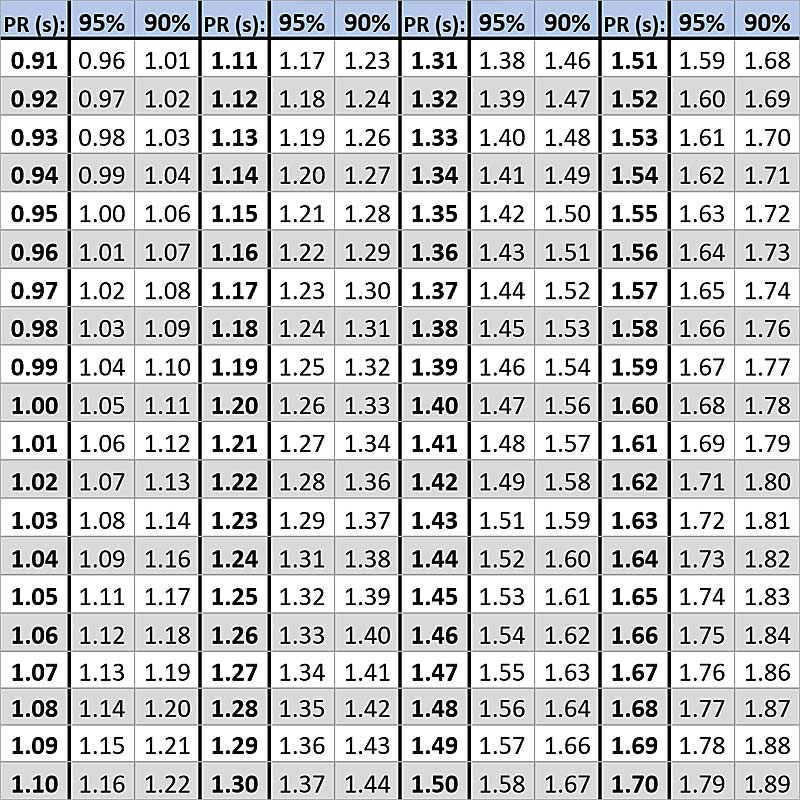
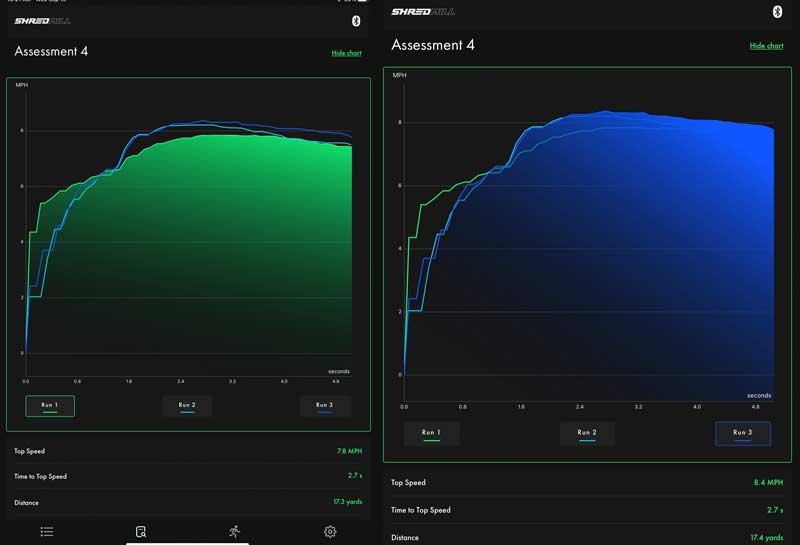
3. 95% Chart
You don’t even have to do any math. (Most) athletes are extremely attuned to their training processes and often remember their PRs. Having a chart like this below saves a ton of time with a quick check-in for each athlete’s 95% threshold either before, during, or after the training session.
Final Thoughts
A common saying nowadays (and the slogan of 1080 Motion) is “training is testing and testing is training.” Every time you do a Flying Sprint in training, it can be tested; every time you have a testing day, it’s also a great speed workout. The two are much more similar than dissimilar. You’ll ensure you’re actually doing speed training and you’ll be spreading out the importance of timed sprints over every week, as opposed to a bunch of pressure just one week every 8 to 12 weeks. Additionally, you’ll have an extremely specific readiness check-in for each athlete, which translates to more buy-in in your training.
If you’re going to have your athletes sprint anyways, you’ll get so much more value out of your sessions—in the short and long term—by timing the sprints.
Since you’re here…
…we have a small favor to ask. More people are reading SimpliFaster than ever, and each week we bring you compelling content from coaches, sport scientists, and physiotherapists who are devoted to building better athletes. Please take a moment to share the articles on social media, engage the authors with questions and comments below, and link to articles when appropriate if you have a blog or participate on forums of related topics. — SF


 Barrett Snyder, CSCS, holds a M.S. in Sports Management and a Master of Business Administration (MBA) from Drexel University. He is currently enrolled at West Chester University studying Exercise Science with a concentration in Sports Psychology. He intends on pursuing his J.D. or PhD.


