Standing next to the finish line at Mt Tahoma High School, watching the boys 4A 1600m, I knew I was watching something special…but didn’t know just how special it was. This race passed all the eyeball tests: some of the best distance runners in the country getting out hard in the first lap, gracefully floating through the middle of the race, and then powering to a photo finish that left no one in the stands in their seat.
The result? The two fastest times that year in the country.
So, how did that happen? How did those two runners run sub 4:07 for 1600m with two other competitors at 4:10 or better? Assessing that race, those top finishers each took their places at the starting line possessing all four pillars necessary to hold up the house of distance running.
1. Aerobic Conditioning
When the term “aerobic conditioning” is mentioned, miles and miles of running immediately come to mind—but that is only one aspect of aerobic conditioning.
I like to compare aerobic conditioning to communication—when communicating, you are attempting to get information or a message from a sender to a receiver through a medium or channel. Without any one of those aspects, the message does not travel. In aerobic conditioning, you are attempting to move oxygen from a sender to a receiver through a medium. The sending is done by your heart and lungs, and to maximize the those organs’ abilities to transmit oxygen, you need to develop more capillaries—which are built up by the body when an athlete performs an aerobic function for longer than 60 minutes (but are more effective for lengths of effort longer than 75 minutes).
That takes care of sending, but what is the receiver? And, how is the ability to receive maximized?
The receiver is the muscles, and we increase the muscles’ ability to take on oxygen by training at or close to the velocity at which the maximum volume of oxygen can be moved, or vVO2max. vVO2max training is done as repeats in bouts of 90 seconds to about five minutes with a rest interval that is approximately equal to the duration of vVO2max effort.
Last is the medium in which the oxygen travels. Well, we all know that oxygen is carried in red blood cells through arteries to the muscles, except for the veins, which carry oxygenated blood from the alveoli of the lungs back to the heart. So how is that process improved?
- Being able to move in the most efficient manner possible.
- Getting rid of the excess hydrogen ions in the blood that is broken down from lactic acid buildup due to burning glycogen without oxygen with higher-intensity running.
Efficient running (or running economy) is developed and improved by a combination of the next three pillars. Your body’s ability to get rid of hydrogen ions is developed by training at a velocity equal to about 80% to 90% of an athlete’s vVO2max. That is done by what is known as tempo running (which is closer to the 80% area), lactate threshold or cruise intervals (done at about 85%), and critical velocity, which is 90% to 91% and also has a vVO2max improvement component.
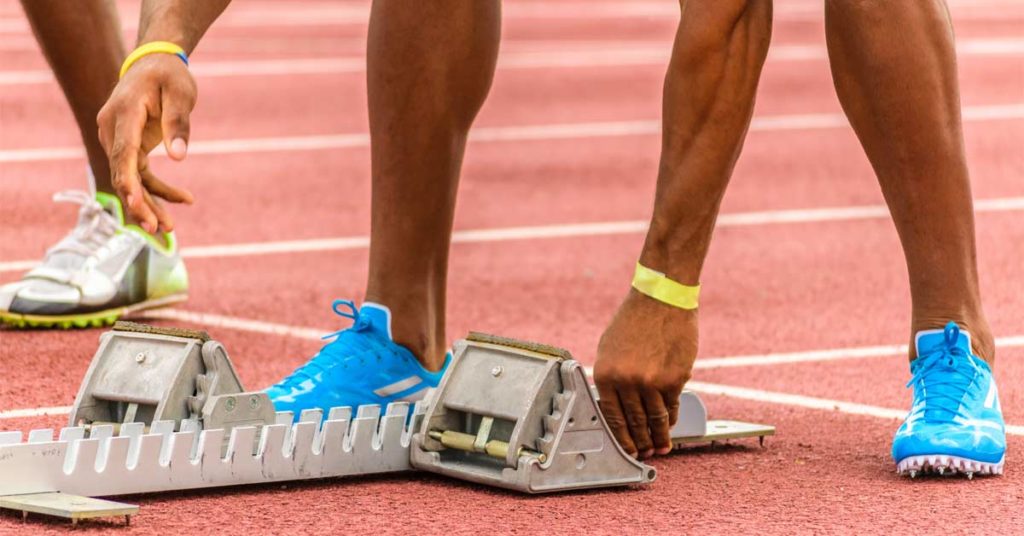
2. Speed or Anaerobic Condition
The next pillar of distance running is speed or anaerobic condition (which by definition means “without oxygen”). With regard to the high school cross country distance of 5k, science tells us that anaerobic use of fuel comprises about 7% of an athlete’s effort. That is where many coaches come up short in their application of anaerobic training.
That’s not to say that speed is the only thing it takes to make a distance runner. On that thought, in 1987, Bob Kennedy won the Kinney (now Footlocker) National Cross Country Championship. A year later, as a true freshman at Indiana, he won the NCAA National Cross Country Championship. He was the first native-born American to break 13 minutes in the 5,000-meter event and never ran more than 35 miles a week in high school—and, after that, about 45 miles a week as a pro with mostly speed work as a staple of his training.
High school coaches all over the U.S. got a hold of that information and created maybe the worst decade in American high school distance running in history. Running a 3200m in under nine minutes was rare in the 1990s. Where are we at now? At the last Arcadia Invitational, 14 runners finished faster than nine minutes in one meet. So, where does that leave us with speed? More than just training your body to use a fuel source without the use of oxygen, anaerobic speed training has several other functions.
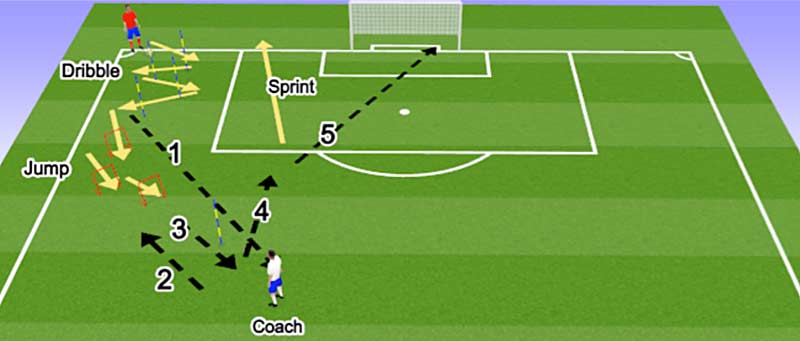
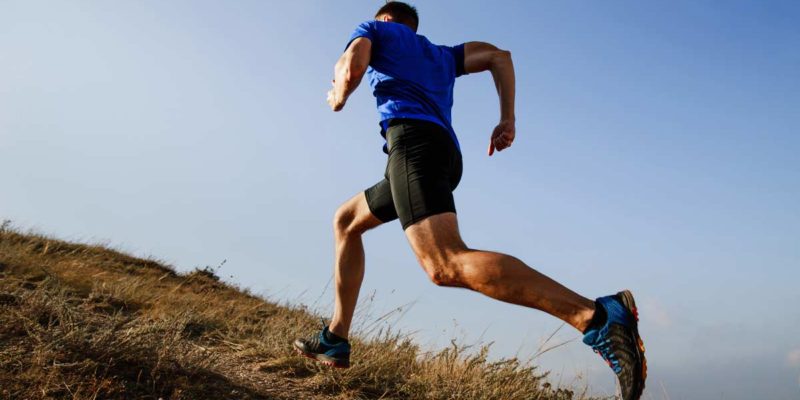
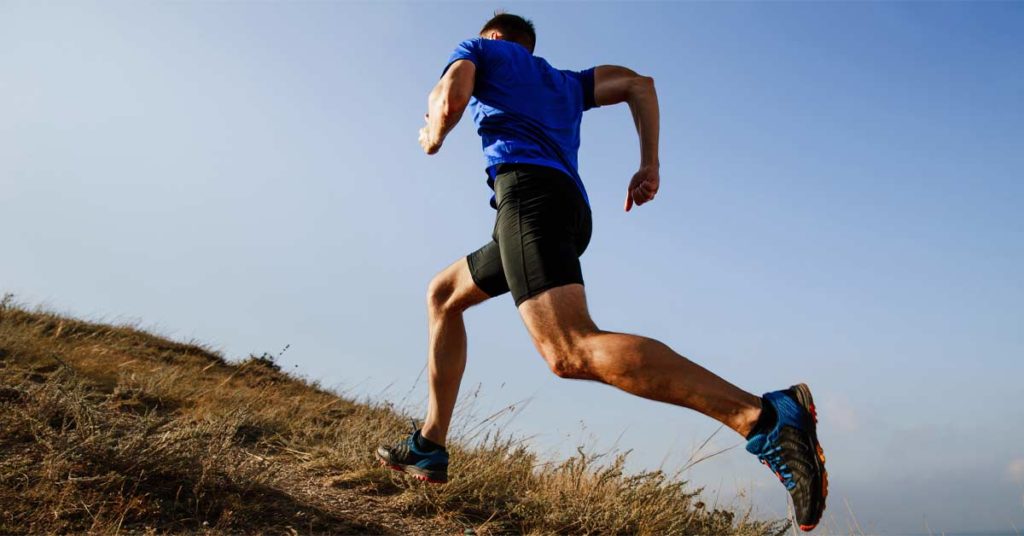
First, running fast is a skill that utilizes a combination of strength, reactiveness, and coordination, all of which must work in unison to perform effectively. That skill is no different than hitting a baseball, throwing a football, or even shooting a basketball. If an athlete in any of those sports spends time not practicing those functions, they lose muscle memory for that skill. It is for that reason that speed work must be a part of a distance runner’s training, year-round.
The more comfortable a distance runner is at running fast, the easier it feels to run at an aerobic race pace and the more economical the athlete performs the function of running. Share on XWhy does a distance runner need the skill of speed? The more comfortable a distance runner is at running fast, the easier it feels to run at an aerobic race pace and the more economical the athlete performs the function of running. Speed is an athletic movement. Endurance runners do well in distance races, but endurance athletes win distance races. Speed helps turn the endurance runner into an endurance athlete.
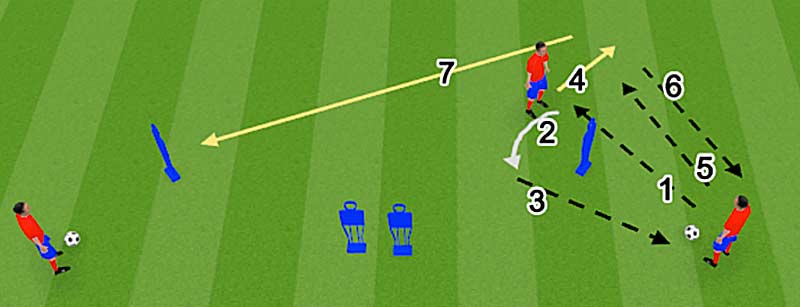
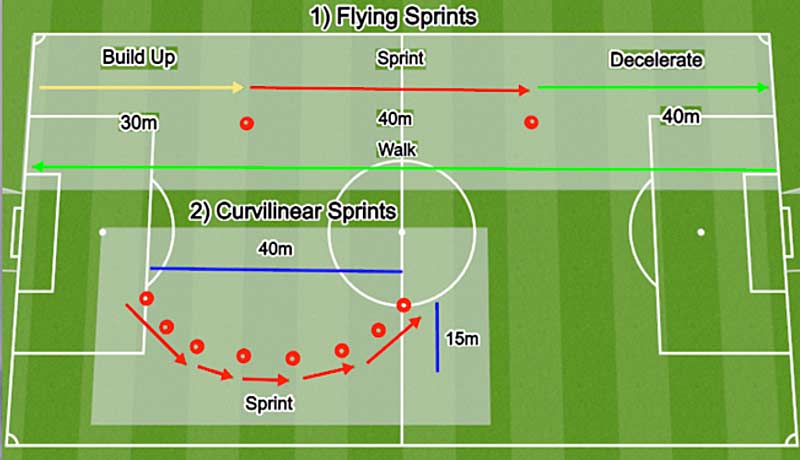
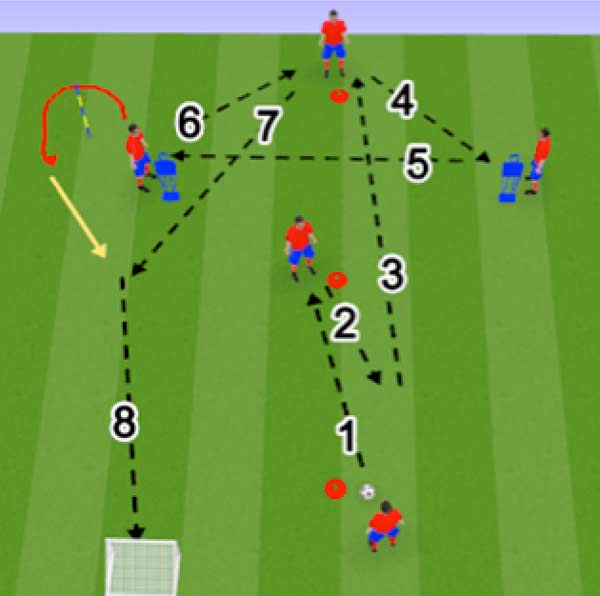
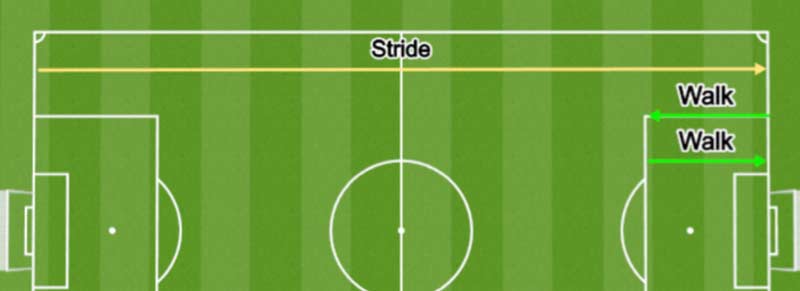
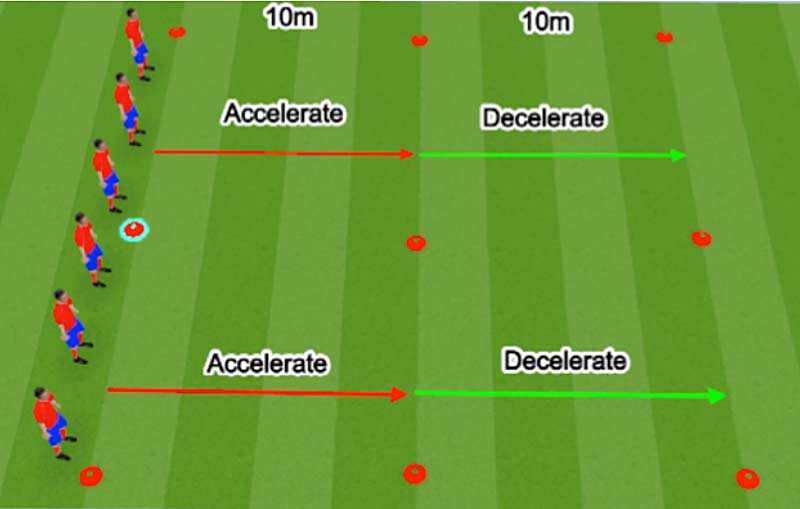
Several forms of speed training can be utilized to build the function of speed in the athlete. Speed training as basic as 60-yard strides at the end of a warm-up can be trained almost on a daily basis. Flys of 30-50 meters are also useful. The types of speed training utilized by most distance coaches are:
- Speed
- Speed endurance
- Special endurance 1
- Special endurance 2
Those distances go all the way up to 600 meters and build fast twitch, strength, and lactate tolerance. The variance of distances and speeds used together and sequenced properly in a macrocycle work together to prepare the athlete for the culminating event.
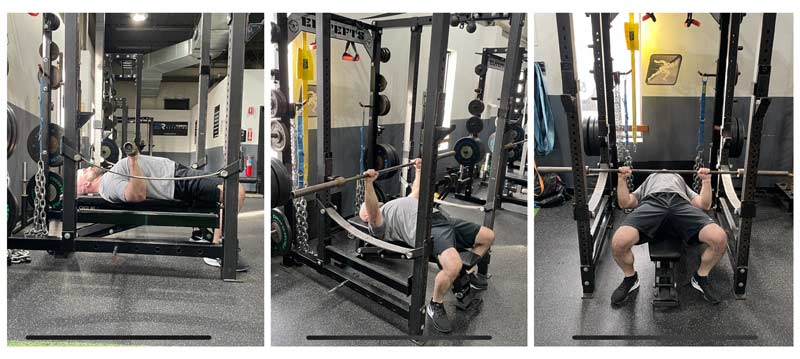
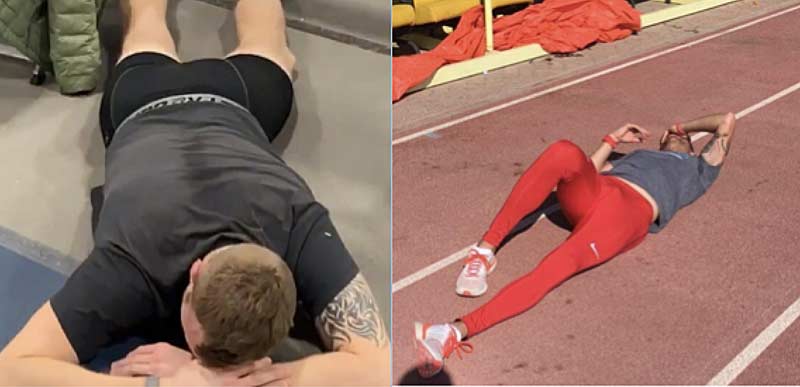
3. Strength and Mobility
If you wanted to build a V8 engine that can also go from 0-60 in a few seconds, you wouldn’t put that engine in the frame of a Pinto. That’s where this third pillar comes in—if you assign the work required to build a strong, aerobic, and fast athlete into a young runner without a strong athletic background, many stress-related problems will start to occur because their body just can’t handle it.
So, what type of strength does a distance runner need in order to handle the stresses of training required to improve? The basic answer is…all of it.
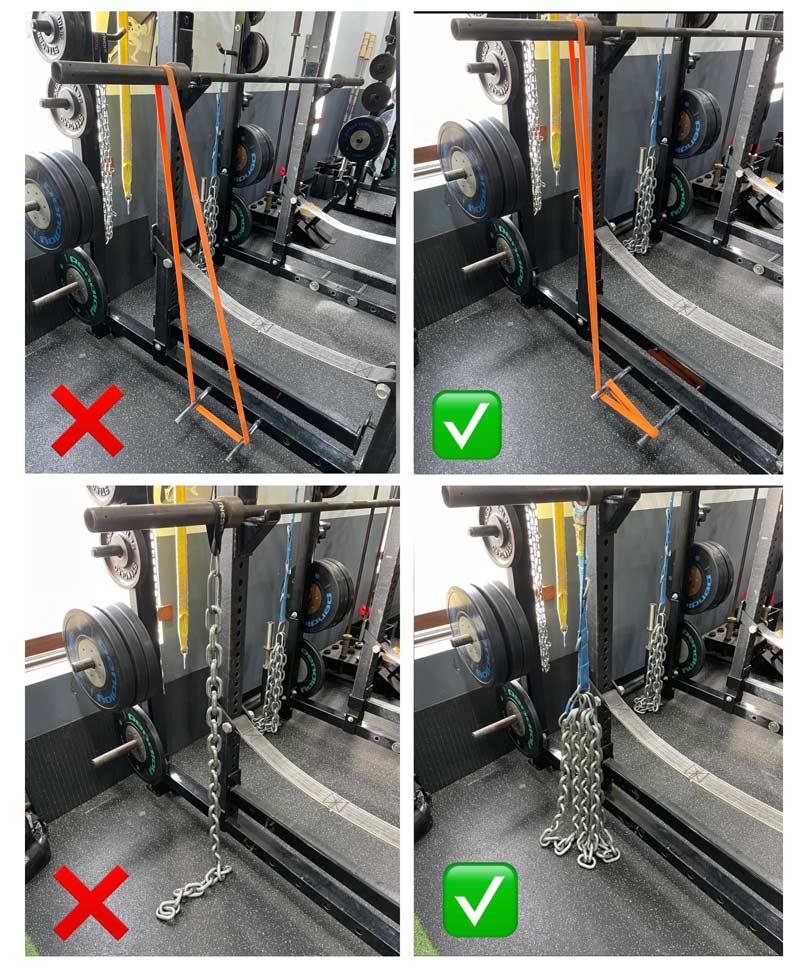
So, what type of strength does a distance runner need in order to handle the stresses of training required to improve? The basic answer is…all of it, says @DuplisseyJeremy. Share on XI like to build strength from the knee to the shoulder and all points in between. Start with the quadriceps to the hip flexors with the lunge matrix or band work, and the runner can handle the mileage required to build an aerobic engine. The abdominal and all the core muscles help the athlete hold form throughout the race; if that form breaks down, it could reduce the runner’s speed and efficiency while increasing the likelihood of injury.
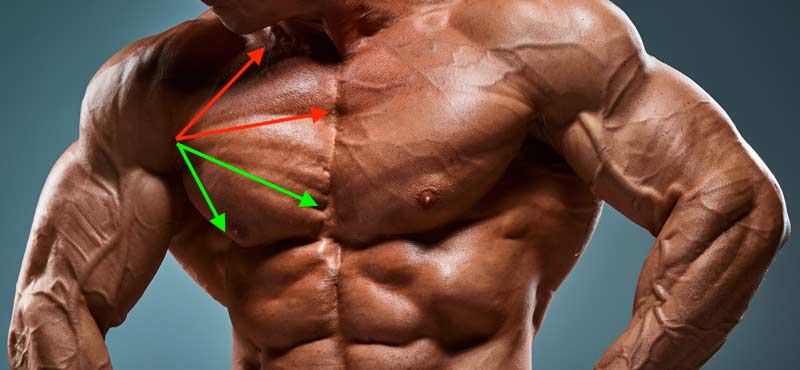
The chest and shoulder strength come in at the end of the race—during the kick, extra upper-body strength is used to bring about that last bit of form and speed needed to win the sprint finish. Mobility comes into play with the reduction of stiffness of muscles and joints, which could adversely affect movement, cause reduced efficiency, and increase the risk of injury. Strength training should be performed throughout the year and macrocycle to an extent necessary to prepare the athlete to perform their best.
4. Rest
I’ve heard many coaches talk about how their athletes performed due to a specific type of training or workout, but athletes don’t actually respond to a program or workout—they perform as a result of recovering from the stresses of that program or workout. Rest is essential. The stress put on an athlete flexes the body—if they don’t recover from that stress, they cannot benefit from it. The various stresses create micro tears in the muscle and those tears need to heal. That’s where recovery comes in.
Athletes don’t actually respond to a program or workout—they perform as a result of recovering from the stresses of that program or workout. Rest is essential, says @DuplisseyJeremy. Share on XRest in distance running comes in different forms at different times, and for different reasons. Easy running is a form of rest. The reason the athlete runs on a recovery day instead of no work at all is that the run elevates the runner’s pulse to above 120 beats per minute. That helps bring the healing blood to the damaged tissues from the hard workout and flush out the toxins created by the damage of the workout. Recovery days should be treated with as much importance as each hard workout day.
Another form of rest is sleep. The endurance runner experiences a stress that is unlike most other athletes, and most of the healing from that stress comes through sleep. An endurance athlete needs at least eight hours per night, and if that is not possible due to schoolwork or other factors, the coach should alter or reduce the training because the athlete is unable to properly recover from the workout.
The last type of rest is actual days off. During a macrocycle, a rest day can be done a few ways without reduction of performance. Once a week is the most popular among high school athletes; however, a high school athlete should not go more than 21 days without at least one rest day.
Outside of the macrocycle, the athlete needs a rest period more for psychological than physiological reasons. High school coach and physiology teacher Scott Christensen says a high school runner needs about six weeks off in a calendar year. Other coaches say that rest of longer than two weeks at a time leads to injury once the athlete starts back up. The best method is the one that works for your program and athletes, but they do need some form of a rest period following a season.
Know Your Athletes
Building high school distance runners involve many factors outside of these four pillars, but every successful program I’ve reviewed has some form of these pillars. These are the mechanics of a high school distance program, but the most important factor—which we can call the roof that caps it all off—would be the understanding that the athlete you are fortunate enough to coach does not care what you know or how you present it unless they know how much you care about them.
You are coaching young learners, and individual human beings. They all come from different backgrounds, have different experiences, and have different abilities. Knowing your athletes and how they respond to different stresses is the key to applying these pillars in developing the athletes you coach into the best they can be.
Since you’re here…
…we have a small favor to ask. More people are reading SimpliFaster than ever, and each week we bring you compelling content from coaches, sport scientists, and physiotherapists who are devoted to building better athletes. Please take a moment to share the articles on social media, engage the authors with questions and comments below, and link to articles when appropriate if you have a blog or participate on forums of related topics. — SF