Charles Atlas, Jack LaLanne, and Arnold Schwarzenegger are muscle-building and athletic fitness pioneers who changed the game. One name to add to that list is Mark Rippetoe, the charismatic founder of Starting Strength. Rippetoe walked the talk as an athlete. He played football and then focused on powerlifting from 1979 to 1988. At a body weight of 220 pounds, his best lifts include a 611-pound squat, a 396 bench press, a 633 deadlift, and a 275 power clean.
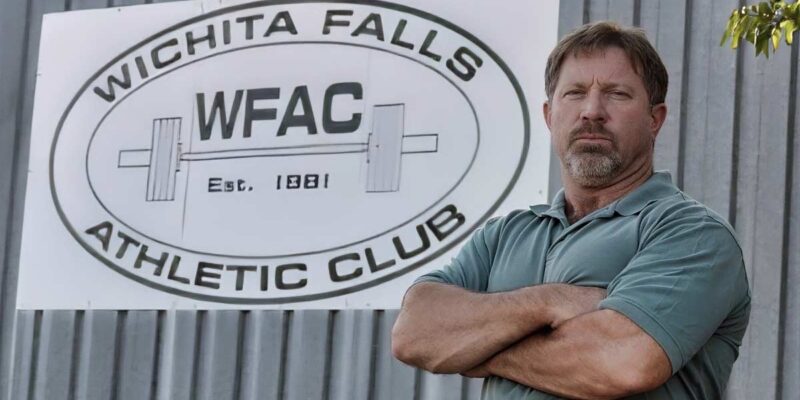
In 1997, Rippetoe focused on coaching weightlifters at the Wichita Falls Athletic Club and saw several of his lifters compete internationally. From 1999 through 2005, Rippetoe taught courses for USA Weightlifting, and he was in the first group of coaches to be certified by the National Strength and Conditioning Association. He is a bestselling author, and his Starting Strength franchise is expected to expand to 100 gyms within the next five years.
Rippetoe believes that the foundation of athletic performance is strength, and the barbell is the best tool for building it. Here are some of his other thoughts.
Freelap USA: What are the key components of the Starting Strength Method?
Mark Rippetoe: The exercises and the programming. Our position is that strength is the ability to apply force against an external resistance, and it is displayed in six fundamental movement patterns. These patterns are as follows:
- Picking something off the ground.
- Lifting something over your head.
- Pushing something away from you.
- Pulling something toward you.
- Squatting down and back up.
- Throwing things.
If your training focuses on these movement patterns and you use progressively heavier weights, you will get stronger. The exercises we have chosen to strengthen these movement patterns are the squat, bench press, press, deadlift, and power clean, and our primary assistant exercise is the chin-up. These exercises use as much muscle mass as possible, are performed through the most effective range of motion possible, and enable you to use as much weight as possible. These are the only exercises you need to do for the first year or year-and-a-half of training.
The only exercises you need to do for the first 1–1 1/2 years of training are the squat, bench press, press, deadlift, and power clean, along with the chin-up as the primary assistant exercise. Share on X
Freelap USA: What is your Two-Factor Model of Sports Performance?
Mark Rippetoe: The Two-Factor Model states that two avenues of adaptation are required to achieve a higher level of performance: training and practice. Training stimulates physiological adaptation; practice is the repetition of skills displayed during performance. Take baseball as an example.
Strength is the physiological adaptation for baseball, but you won’t develop strength by throwing a 4-ounce baseball. You develop strength for baseball by performing the squat, the bench press, and the power clean. Performing these exercises in a progressive manner will make you strong enough to play baseball at a higher level and prevent you from hurting your shoulders.
Practice for baseball is exactly what you might suspect it is because throwing a baseball is specific to baseball. If you’re a pitcher, you’re throwing a baseball 60 feet, 6 inches. So, practice for baseball is throwing 60 feet, 6 inches, and repeating that for thousands and thousands of reps. Throwing a 6-ounce baseball will not make you stronger, is not specific to throwing a 4-ounce baseball, and will only mess up your timing and provide more business for physical therapists.
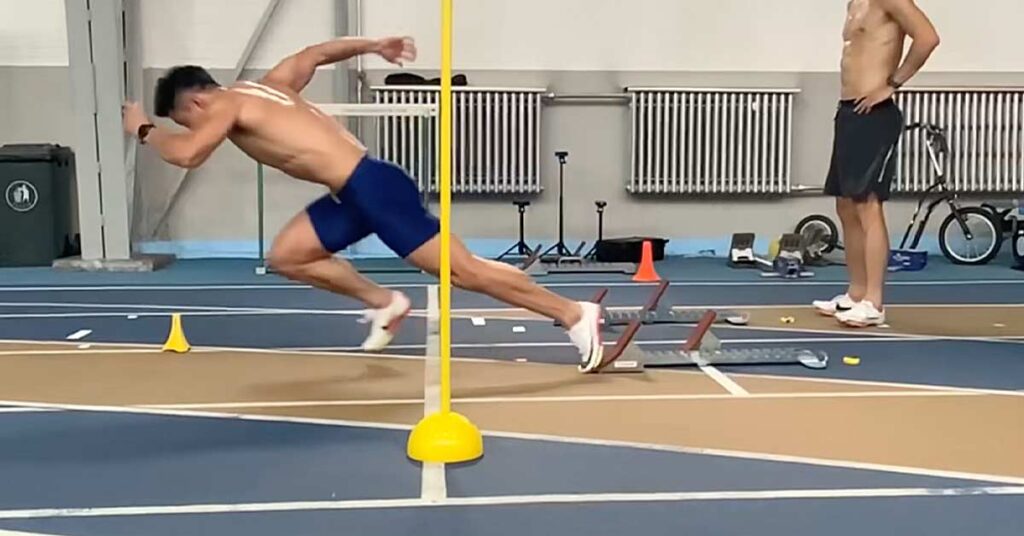
What about sprinting? We know that the practice for sprinting is sprinting, but we also know that sprinting is force-production based—the more force a sprinter puts into the ground, the more distance they will cover with each stride. What increases force production? Strength. What is the best way to improve strength? Barbell exercises such as the squat and the deadlift.
Freelap USA: Your company has 21 Starting Strength gyms open, and you sold another 20 franchises. At a time when smaller gyms are struggling against the major gym chains, how are your gyms able to succeed?
Mark Rippetoe: Everyone who comes to our gyms is taught the Starting Strength Method—that’s what we do, and nobody training at our gyms works out unsupervised. Our target demographic is 55-year-old males, but we have 20% women. Our program is successful because it works for everyone, and we project that within five years, we will have 100 Starting Strength gyms.
Freelap USA: What major changes have you seen in the strength coaching profession since you started coaching?
Mark Rippetoe: There haven’t been any major changes for the good of the profession, but there have been many fads that have come and gone. One fad right now is functional training, which represents a fundamental misunderstanding of what we’re supposed to be doing in the weight room in light of the Two-Factor Model.
Proponents of functional training are trying to make training look like practice. You can’t make a guy stronger with a 20-pound dumbbell while he’s standing on an unstable surface. And if you don’t think an athlete needs to be stronger, why are you a strength coach?
It’s really very simple. Strength is force production, and force production is measured by how much weight is on the bar. The weight on the bar goes up; force production goes up, says @SS_strength. Share on XIt’s really very simple. Strength is force production, and force production is measured by how much weight is on the bar. The weight on the bar goes up; force production goes up. Why do athletes take steroids? Because they know that steroids will make them stronger.
Freelap USA: How can high school coaches apply the Starting Strength principles to their athletes?
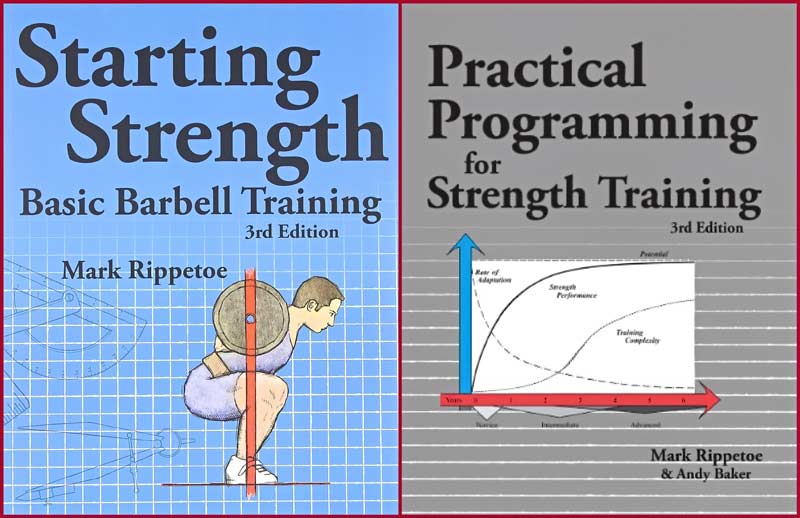
Mark Rippetoe: The first step is to purchase a copy of Starting Strength: Basic Barbell Training and Practical Programming for Strength Training—those are our two main textbooks. I should point out that Starting Strength is in its third edition, and it is the best-selling book on strength training in the history of publishing. After studying these books, you should attend a Starting Strength Seminar because we pull it all together for you.
At our seminars, we spend 25 contact hours reviewing our material in a highly intensive manner, and our staff demonstrates and coaches our five basic barbell lifts. Attendees will be required to perform these lifts and to coach them—because when you coach, you learn!
Since you’re here…
…we have a small favor to ask. More people are reading SimpliFaster than ever, and each week we bring you compelling content from coaches, sport scientists, and physiotherapists who are devoted to building better athletes. Please take a moment to share the articles on social media, engage the authors with questions and comments below, and link to articles when appropriate if you have a blog or participate on forums of related topics. — SF
 Conlan Sodrosky is a Firefly Recovery sales representative with six years of experience as an athletic trainer at the D1 and professional sports levels, working with Wake Forest football and the Atlanta Falcons of the NFL. Conlan attended Penn State University for his undergraduate degree in athletic training and the University of South Carolina, where he acquired a master’s degree in advanced sports medicine. Conlan is currently working with high school coaches and athletic trainers nationwide to help them implement Firefly within their programs to enhance their student athlete’s recovery.

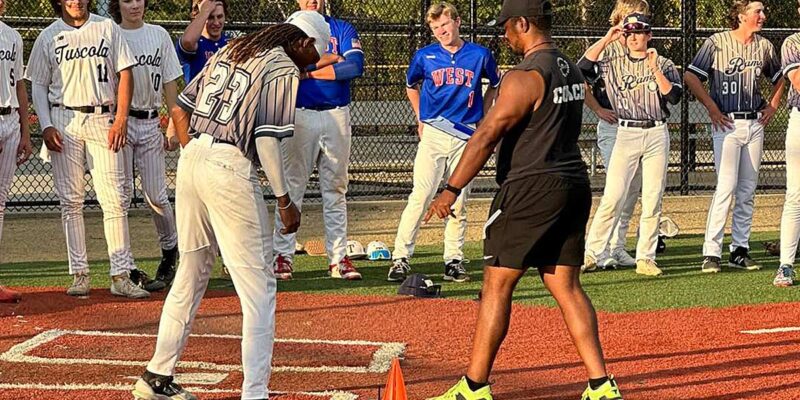
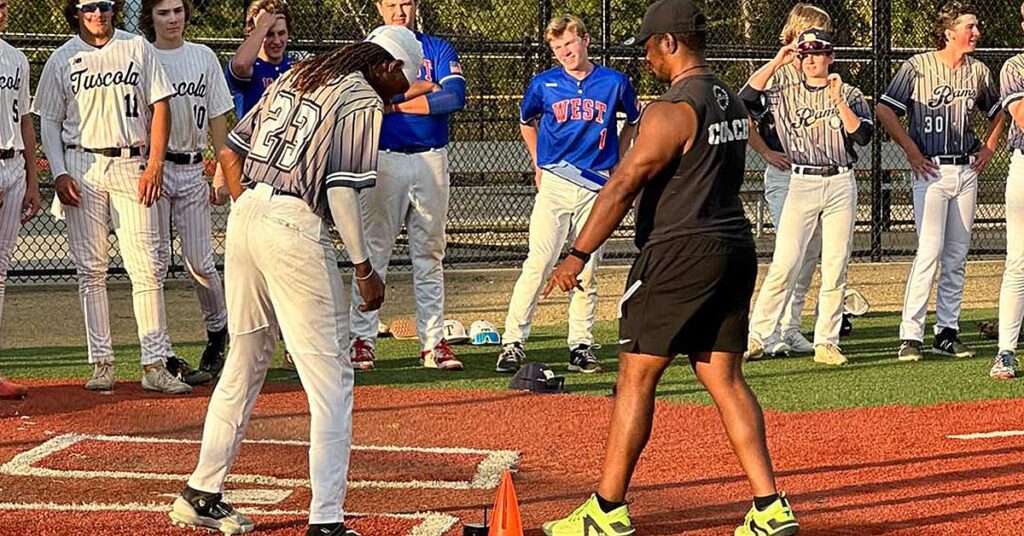


 Steve Haggerty is a sports performance coach at Parkview Sports Medicine (PSM) in Fort Wayne, Indiana, and an NFL Draft Prep specialist at Bommarito Performance Systems (BPS) in Miami, Florida. He spent the last two years at BPS working with NFL Pro Bowlers as well as MLB and NHL All Stars in their off-season training. Haggerty took on the lead role of preparing college football players for the NFL Combine and Pro days. At PSM, he leads the youth “Edge” program with athletes from a variety of different ages and sports.