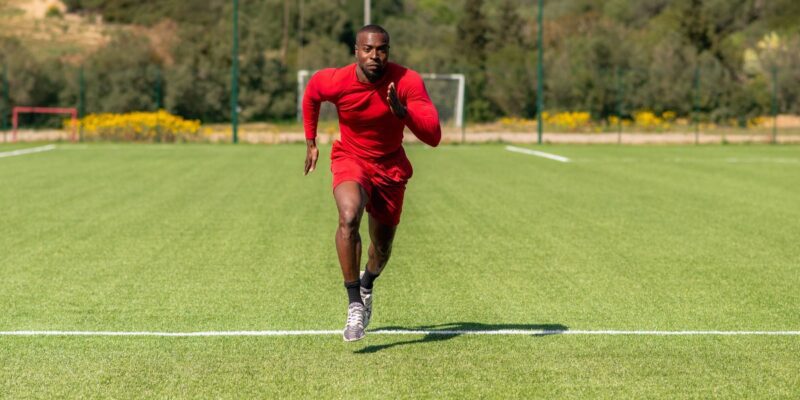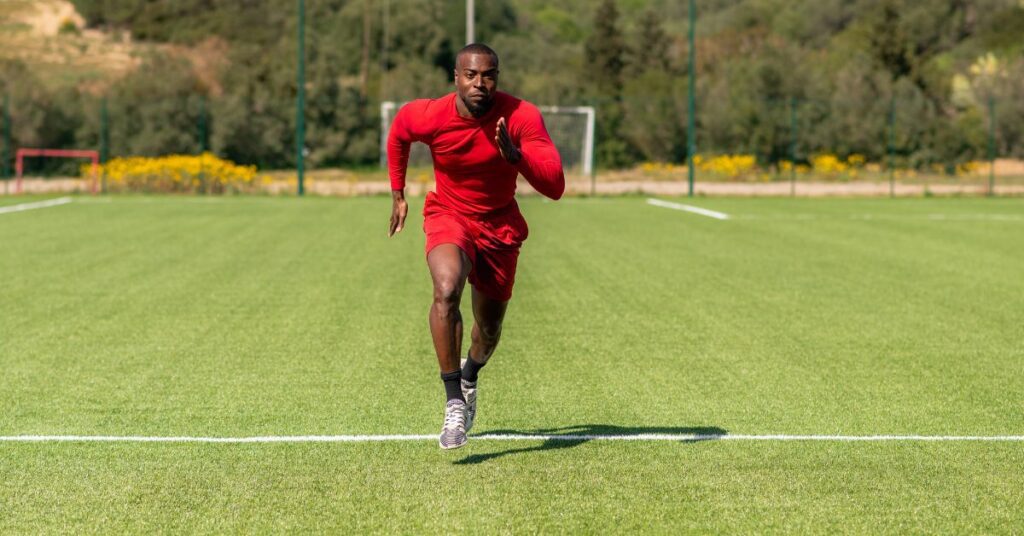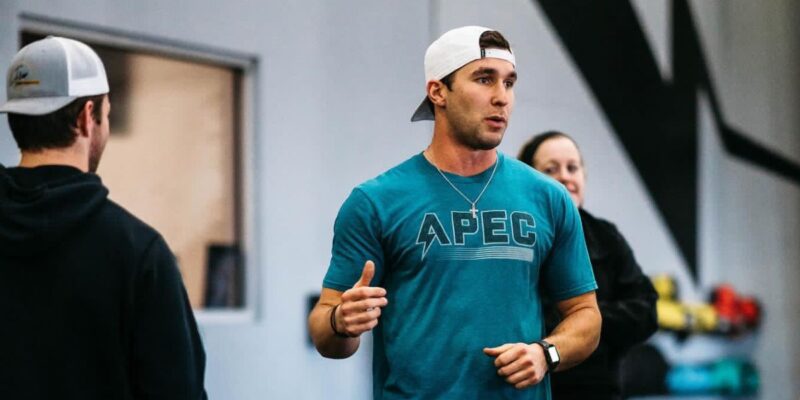
Mason Hays was born and raised in East Texas, where he grew up participating in football, basketball, baseball, and track and eventually became an all-state multi-sport honoree. Following high school, Mason accepted a scholarship to play football at Texas State University, where he played and became a team captain prior to graduating in 2019.
Throughout those years, he spent time interning under some of the top leaders in the sports performance industry, and following graduation, he became a part of the APEC team as a performance coach. During his career, he has continued to educate himself and further his knowledge on the latest research to provide the best impact he can for everyone he coaches. He has worked extensively with athletes from the NFL, MLB, and NCAA. Mason now lives In Fort Worth and continues to pursue his passion as a coach looking to optimize human performance.
Freelap USA: As the Co-Director of Performance, what are a few pieces of advice for doing that position well for both the business and your fellow coaches?
Mason Hays: Be an elite-level problem-solver. Our mission at APEC is to improve lives and protect futures through the field of human performance. We truly believe that we are the best at offering people value in all things relating to health, fitness, and sports performance.
What stands in the way of us carrying out that mission (the problem)? The people we have access to. Set a goal of who you want in the door, then begin to solve the problems with getting people in. Continually refine the things that work and learn from the things that don’t.
With this line of thinking and action, our team has been able to keep our building relatively busy over the years, even during times of the year that most in the private sector would consider “dead periods.” We’ve done this with the addition of app-based training platforms, lunchtime classes for adults, and home school classes for kids, by building off-site relationships and contracts with teams, and much more—in addition to our regular training groups.
The ability to coach various groups at any age and level is the most underrated way to fast-track yourself to become a great coach, says @mason_perform. Share on XDevelop Swiss Army knives. This starts with you. The ability to coach various groups at any age and level is the most underrated way to fast-track yourself to becoming a great coach. You will develop a dynamic personality and a skill set that enables you to engage with various populations and groups. It develops your ability to be a quick thinker on your feet, manage and organize a room/group well in complex situations, and progress and regress exercises among any population.
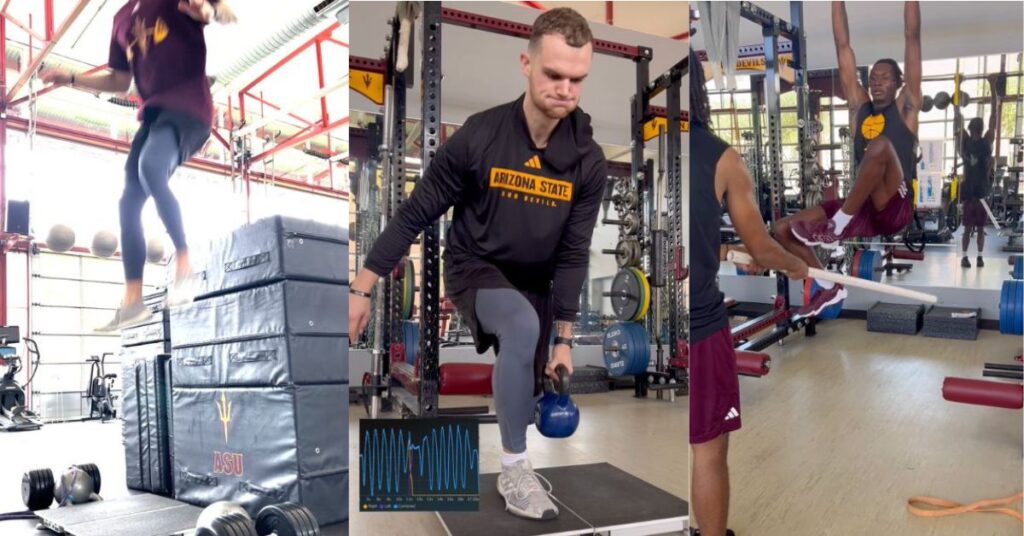
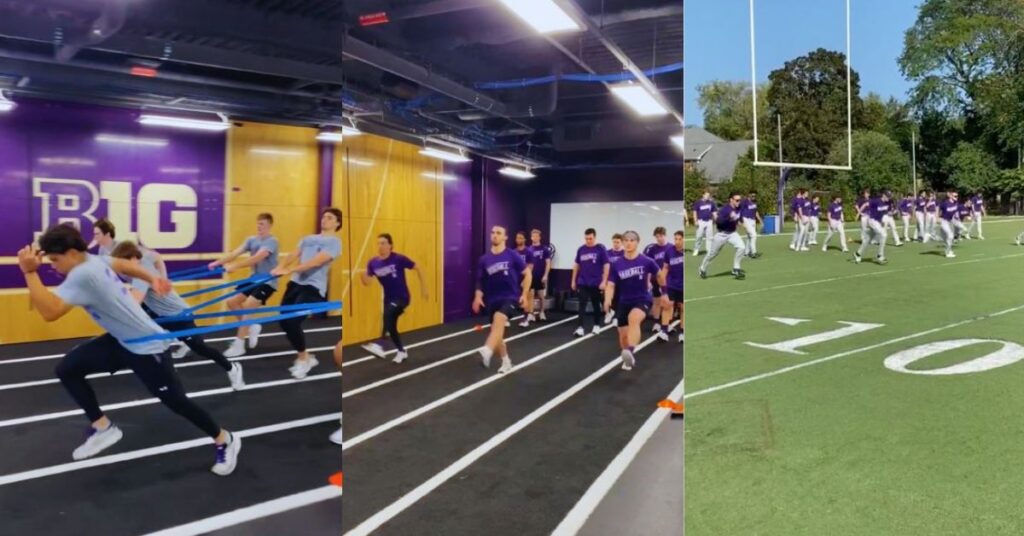
Every coach on our staff receives exposure to coaching youth athletes ranging from 5–18 years of age, college and professional athletes across multiple sports, gen pop adults, and adaptive athletes involved in competitive athletics or in the gen pop category, as well. Depending on the time of year, some coaches will get exposure to all of those groups within the same day. Once you can effectively coach all these groups at an elite level, there will be no hiccups or handicaps in your staffing when opportunities arise and you need someone to step up because your entire staff is more than capable of running effective sessions amongst any group.
Freelap USA: Having trained at APEC for a long time as an athlete, how impactful is understanding the facility, the workflow, and culture for you now as a coach?
Mason Hays: Being a long-time athlete within the APEC system gave me—and continues to give me—a significant advantage when I made the transition to the other side of the role with coaching, and eventually directing one of our locations. Something we are keen on at APEC is being diligent as coaches within our system when it comes to accounting for the perspective of everyone in the room. Ultimately, we want to ensure we manage the perspectives of those we coach well to make it the best experience possible. What we perceive is our reality. An athlete’s perspective, a coach’s perspective, a parent or agent’s perspective, and an intern’s perspective will all be different.
When you are the lead coach of a group, it is your responsibility not just to organize and lead a workout by telling people sets and reps but also to engage and be mindful of all the different POVs in the room. Ensure that you are giving the best possible experience to each one of them. Living through that lens as an athlete in the system for as long as I did has allowed me to manage that perspective well in the time that I have had the opportunity to coach at APEC.
A few ways we ensure we continue to manage perspectives at a high level are:
- Preparation
- Organization
- Communication
- Flow
Being prepared with your setup prior to sessions starting and knowing exactly how and what you want to accomplish each session goes a long way in how your athletes will view your overall level of professionalism. Communicating at a high level to ensure everyone involved in sessions is on the same page—from other coaches to interns to any medical staff and admin—makes a staff appear much more prepared and can make or break the respect they have in their athletes’ eyes.
The flow of a room is also critical, especially when you are training multiple groups/teams in the same building. Ensuring there is no overlap of space and equipment keeps the flow of sessions running smoothly and the energy of the athletes positive.
Freelap USA: You offer training from kindergarten to professionals—what’s the key to long-term athletic development?
Mason Hays: Understanding the physiology and the psychology.
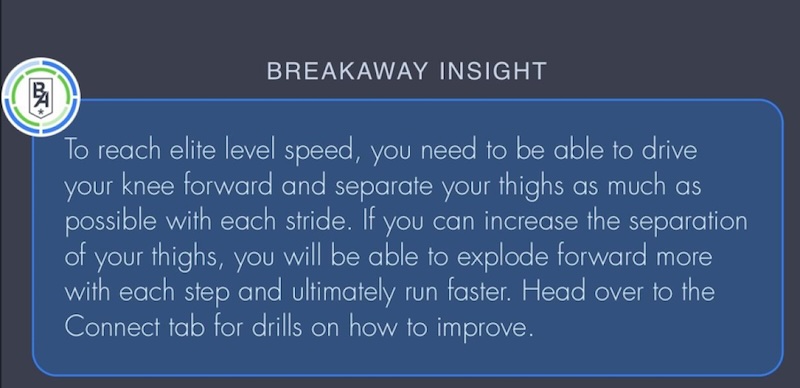
Pre-pubescent kids do not currently possess the hormones necessary to create actual structural adaptations in things like hypertrophy and what we might consider “strength” via force production through motor unit recruitment mechanisms. What we can do, however, is effect change via efficiency of the nervous system. Our goal is to build extensive neural maps for athletes, giving them a high variety of exposure to a number of different training means.
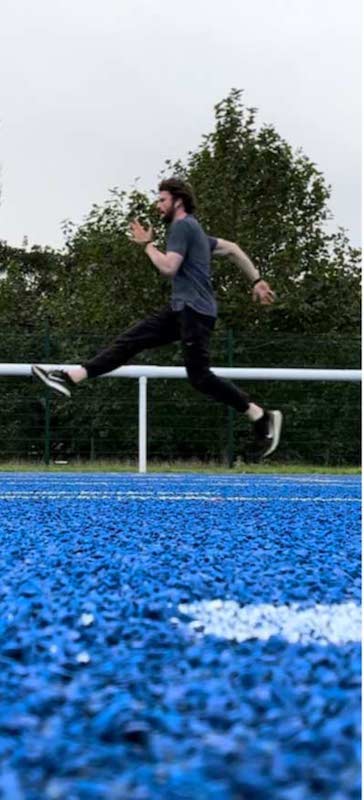
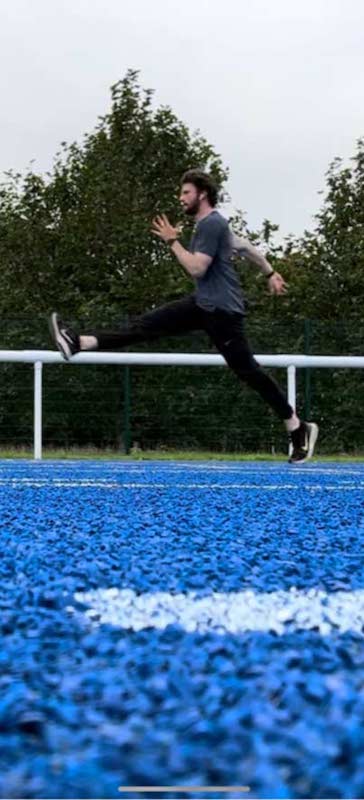
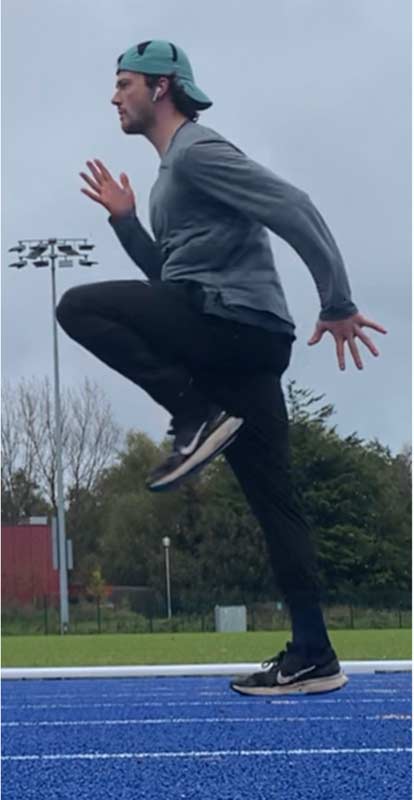
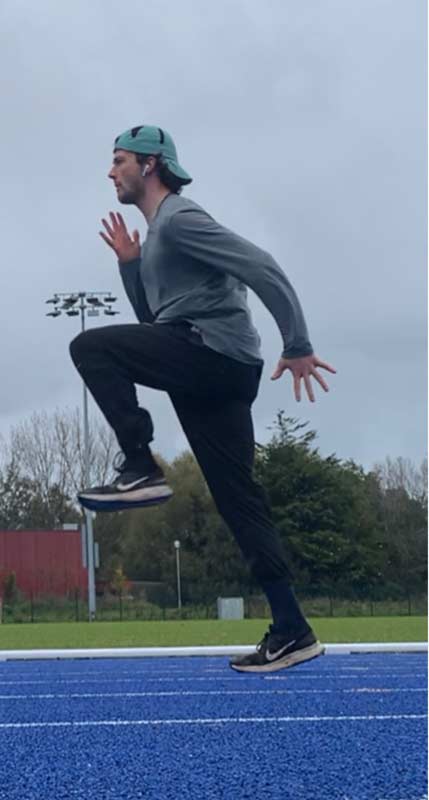
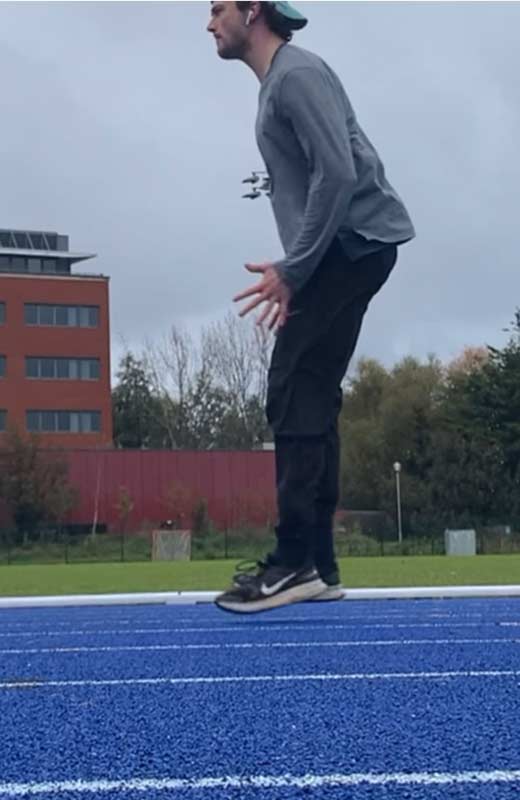
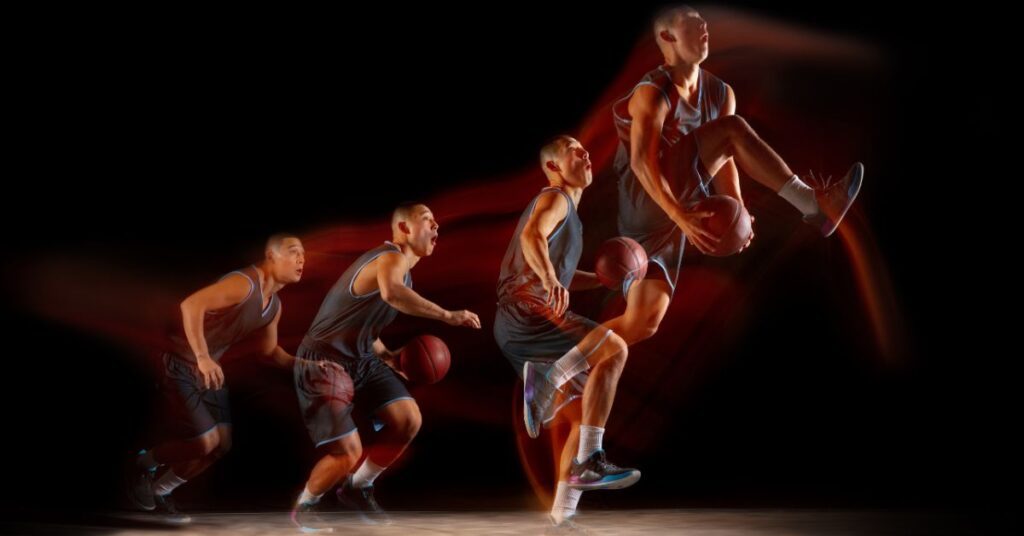
Our goal is to build extensive neural maps for athletes, giving them a high variety of exposure to a number of different training means, says @mason_perform. Share on XThis includes gamified training consisting of perceptive and reactive components, hops, skips, bounds, sprints, and throws in a variety of planes and directions, and coordinative-driven strength work to enhance the efficiency of the neuromuscular system and set athletes up to be the best versions of themselves later in life when it counts. In addition to fostering a healthy relationship with training and exercise along the way, we can’t ignore and negate the biopsychosocial model and how keeping athletes in a healthy headspace in regard to sport and training experience is vital not only for current adaptations we would like to see take place but future ones as well when considering their long-term athletic development.
Freelap USA: More related to the business side, what’s the key to continuous long-term attendance for your clients, and how do you foster it? This then adds to their long-term athletic development.
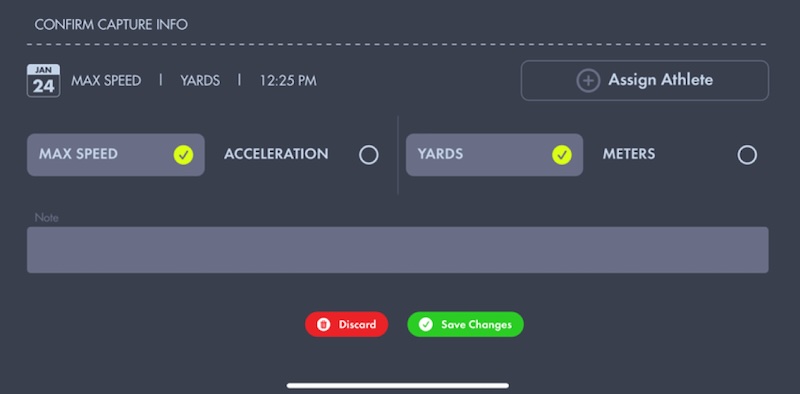
Mason Hays: Building relationships that extend past training. We are involved in our clients’ lives in ways that extend outside our doors. When our athletes leave off-season training and begin an in-season sport, we offer them a variety of resources to continue to help them in any way we know how. We utilize exercise.com, which enables us to have our own app platform that leverages our personal branding. Through that, we have remote programming, and we can communicate with all clients through group messaging platforms and send out resources to all the athletes and adults we train.
Even more than that, however, we are always diligent about involving ourselves in our clients’ lives in ways that expand beyond training. We do this by attending our athletes’ games and hosting events in and outside of the facility to help foster a sense of community and camaraderie amongst staff and our members. For adults, we enjoy activities together such as pickleball, golf, rec league team sports, and any other healthy activity that allows us to connect with our people outside of the gym and get a little more “human” with them than what they might typically experience if they only saw us on the training floor. I feel that all of this collectively has kept clients coming back to us any time they are available to train, in addition to getting results from what we do from a training perspective.
Freelap USA: Both you and APEC have a unique training style—what could other coaches and athletes add to their training to take it to the next level?
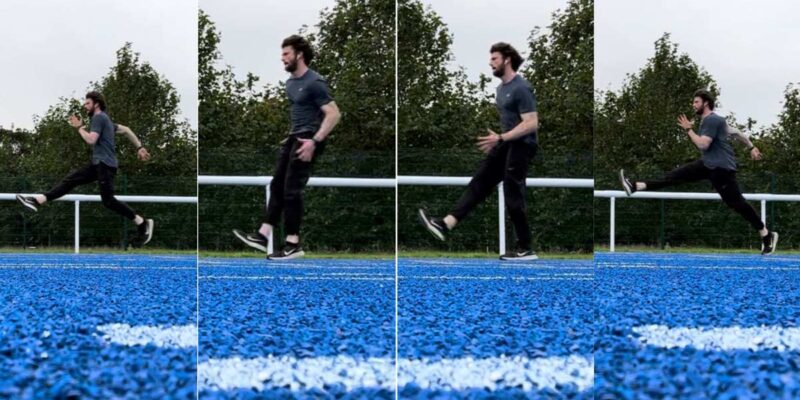
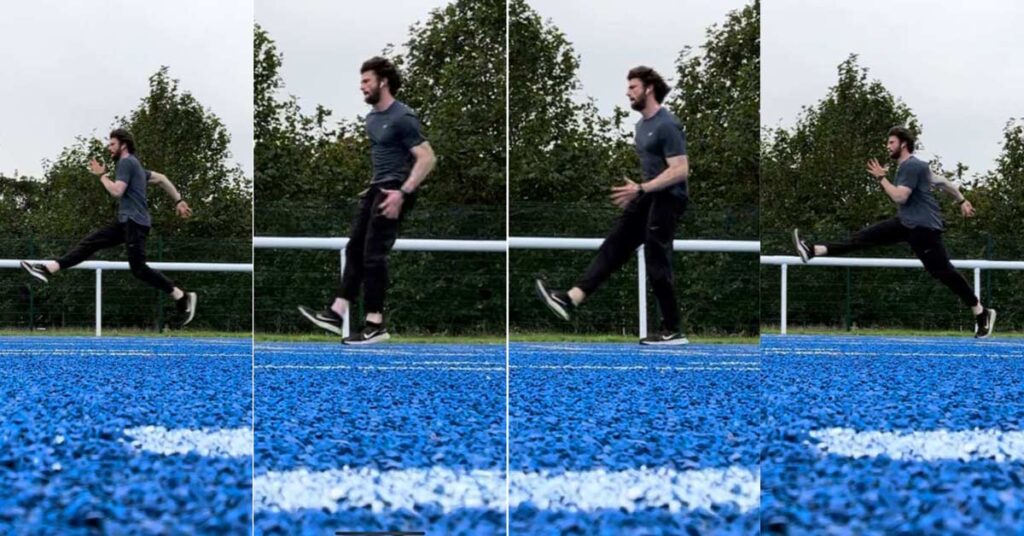
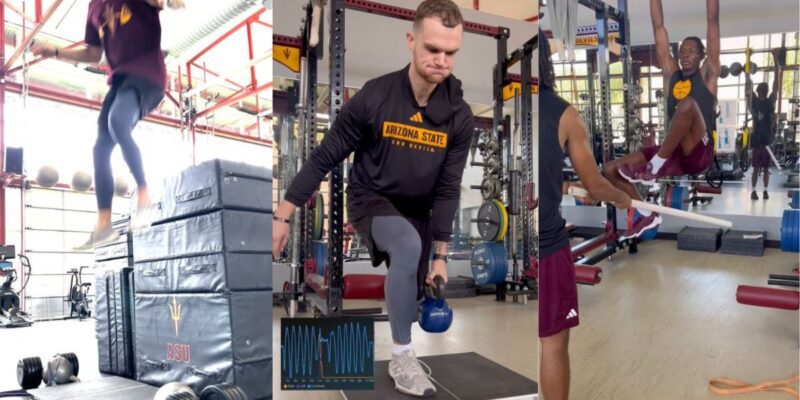
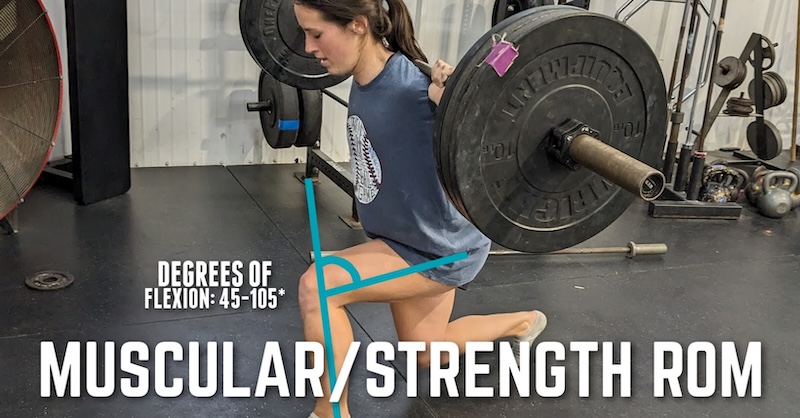
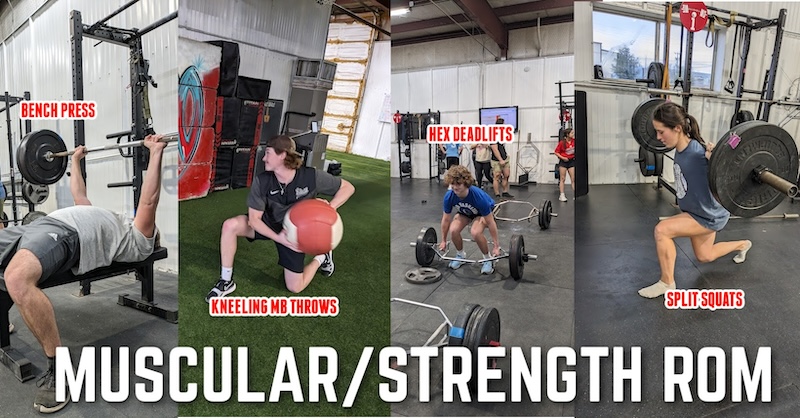
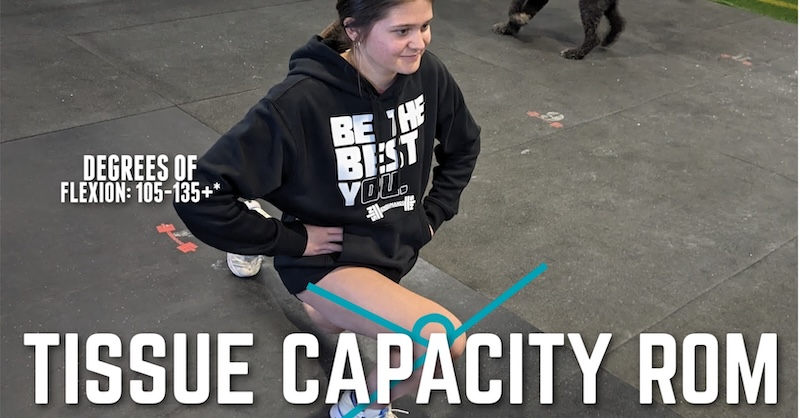
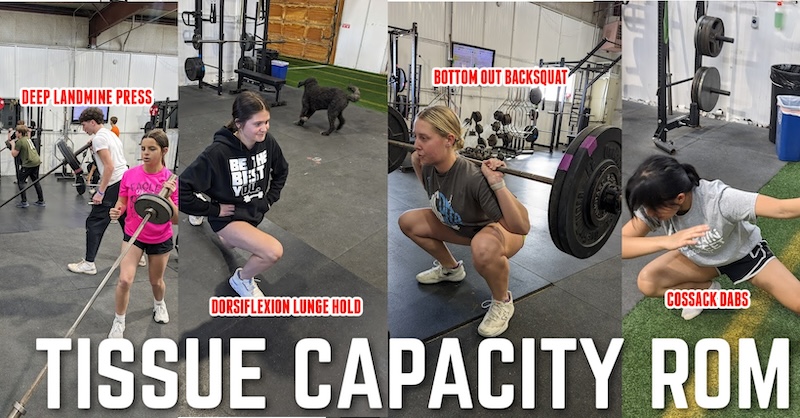
Mason Hays: Foster more 3D movement in your current training style. This includes having an understanding of why, the influence of this on the body, and how the body operates in space. At the foundation of our training principles, we ensure athletes are competent movers in all three planes of motion and can express the movement tasks we deem necessary in any direction they need to move, utilizing an eight-vector grid. The philosophy truly leaves no stone unturned and builds fluid-moving athletes with what we would consider real transfer with movement competency to their respective sport.
Foster more 3D movement in your current training style. This includes having an understanding of why, the influence of this on the body, and how the body operates in space, says @mason_perform. Share on XAlso, do fast things more often. When we look at training residuals, adaptations to the demands of speed hang around for + or – 3–5 days. Having a linear periodization style scheme where speed and power work can be negated for more than 12 weeks in some cases is counterintuitive to the demands of what an athlete needs—and what I would also argue a human being needs—from an exposure standpoint. In our systems, across all populations, we do fast things daily. The degree of intensity is appropriately selected through our exercise choice. Remember, doing things fast is more of an effort level than it is an actual speed.
Since you’re here…
…we have a small favor to ask. More people are reading SimpliFaster than ever, and each week we bring you compelling content from coaches, sport scientists, and physiotherapists who are devoted to building better athletes. Please take a moment to share the articles on social media, engage the authors with questions and comments below, and link to articles when appropriate if you have a blog or participate on forums of related topics. — SF