

Jumps often get the short end of the stick in a high school track and field program, as many schools are short-staffed and lack a coach who specifically teaches the horizontal jumps. In situations where there are inexperienced coaches in these positions, they may not yet know how to teach or create momentum for the athletes in the jumps program.
My goal here is to teach high school track and field coaches how to create your “flight crew” and optimize success for the athlete and team. Our track and field coaches at Holy Trinity High School like to use a testing system in the beginning of winter season to assess the potential for athletes to jump. For the purposes of this article, I’ll focus primarily on the long jump.
Where to Begin
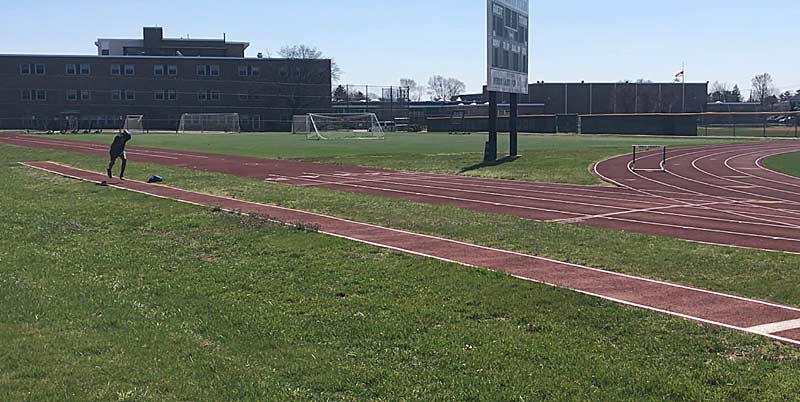
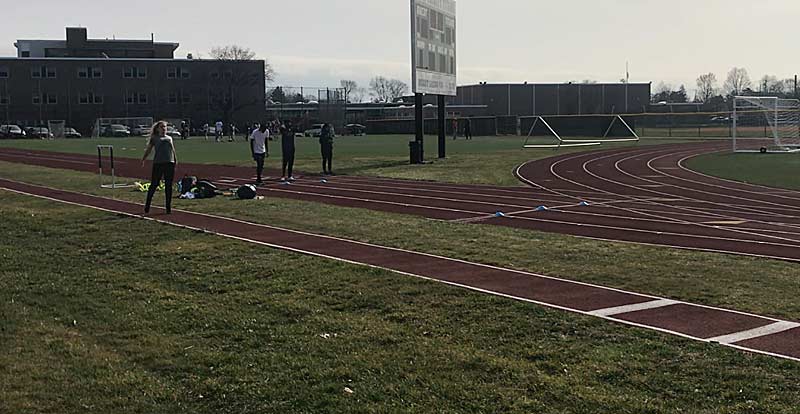
Our first task as coaches is to figure out which of our athletes would be best at the long jump. We do this by implementing our jump test in the beginning of winter season. We also ask if there are any athletes interested in long jump once we have completed our jump assessment with the entire team, which I will discuss in detail.
Jump Testing/Assessment:
- Broad jump
- Single-leg jumps
- Bounding
- Vertical jump
Have the athletes perform these plyometric movements after a proper warm-up and have the entire team be a part of this, not just your prospective jumpers—as the coach, you will then have a better visual of your athletes and their capabilities. You will be able to distinguish if an athlete has hops, if they are springy and bouncy (like a pogo stick), if they are capable of jumping on one leg, and if they have coordination and rhythm. Sometimes you think your short sprinters will be good jumpers, but this may not be the case. Some of those sprinters will bypass the board and run right through it…every time.
Although long jump used to be an event where sprinters could have some diversification from the sprints, athletes now specialize in the long jump and can pursue collegiate careers in the event. Once you have your jumpers chosen, the next step is to get them on the runway and figure out steps from the board. Regarding youth/high school athletes, you want to start with minimal steps in their approach, simply because they lack the speed, spring, and power. The younger athletes should start to jump from 8 feet before the board, and then as they continue to progress have them move to 12 feet off the board.
I believe the most challenging part about starting with a youth jumper is figuring out which leg to jump off of (takeoff leg). I have an ambidextrous jumper who feels most confident jumping off of his left leg; however, he starts the approach with the right foot back. Usually that means the athlete will jump off of the right leg, but oddly enough he jumps off the left leg. He hit a personal record recently of 18.6 feet—my favorite saying is if it ain’t broke, don’t fix it.
Have the athlete face away from you and lightly push them, noticing which foot they step forward with to stop themselves from falling. That’s the leg they feel most comfortable jumping off of. Share on XAs human beings, we have our strong leg and our coordinated leg. What I do is have the athlete face away from me, and then I lightly push them, noticing which foot they step forward with to stop themselves from falling. This is usually the leg they will feel most comfortable jumping off of.
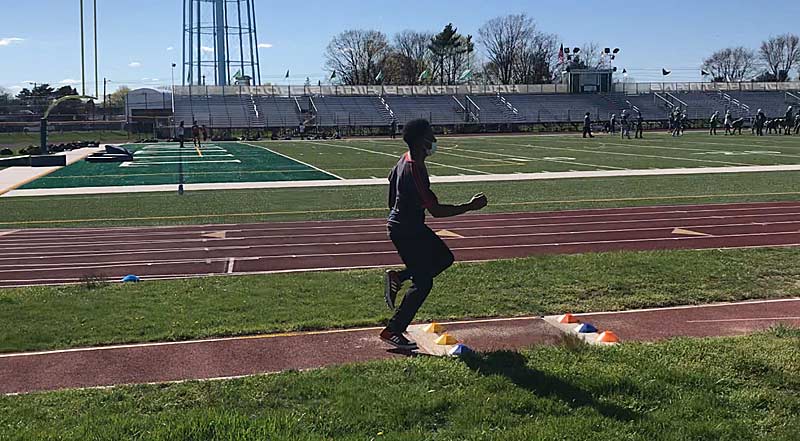
Once we figure that out, we like to start by having the athlete run backward from the board (8 or 12 feet, depending on athletic capabilities). With my novice jumpers, I count six steps off of their takeoff leg. If the athlete jumps off of their right leg, then the right leg starts back. Once the right leg swings through, count 1 and so on (12 steps total). Once that right leg strikes on the sixth step, that is where you place a marker. My more experienced jumpers vary from 8-12 steps off of their jumping leg.
Next, have the athletes run from the marker back to the board to make sure they are somewhat close to the board. The approach is the most important part for a jumper—once they take off, there is not much you can do to enhance the jump while they are in flight. You will notice with novice long jumpers the approach may be wonky; this is due to speed, timing, rhythm, and coordination. Try not to move the marker too much, especially in the beginning, as they must develop their speed and technique. If they do not have speed approaching the board, they will not go far in terms of distance.
Projectile motion is very important:
- Where they place their foot on the board (shin angle).
- Weight distribution.
- Velocity.
- Height.
Explain this to the athlete in a clear and simple way. I like to cue run fast, hit the board, jump and aim for the trees.
Allow the athletes to test out which leg they feel most natural and strongest jumping off. Figure this out in the beginning and then nip it in the bud so they don’t get confused. From here, it is all about repetition—the approach will change once they can apply more speed and force down the runway. Once this happens and they are consistent with hitting the board, you can increase their steps. For example, if I have my novice jumper doing six steps off of the right foot, next I increase that to eight steps off of the right foot, gaining more speed and control, and with that an increase in flight and jumping distance.
Once you have found their measurements, mark that off with colorful tape and initial it with their names so the jumper knows exactly where to start (always carry a measurement tool and tape for your athletes). Know the measurement so that when the athlete is in competition, all they have to do is place a marker down at the start of the approach. Use colorful and bright tape, as it makes it fun for the athletes, and they get to have a decision about something they enjoy.
Where to Begin (Part 2)
Actually, before all of the above, you first need to understand safety while coaching and what to teach your athletes.
- Always rake the sand pit after a jumper. The last thing anyone needs is an injury due to a divot in the sand.
- When raking the pit, sand should be level and slightly wet to avoid dust. (If outdoors, this is never an issue.)
- The pit should be deep enough—no less than 15 inches to avoid jarring when landing.
- The edges of the pit should be well designed to avoid injury, but also so that sand doesn’t scatter out of the pit.
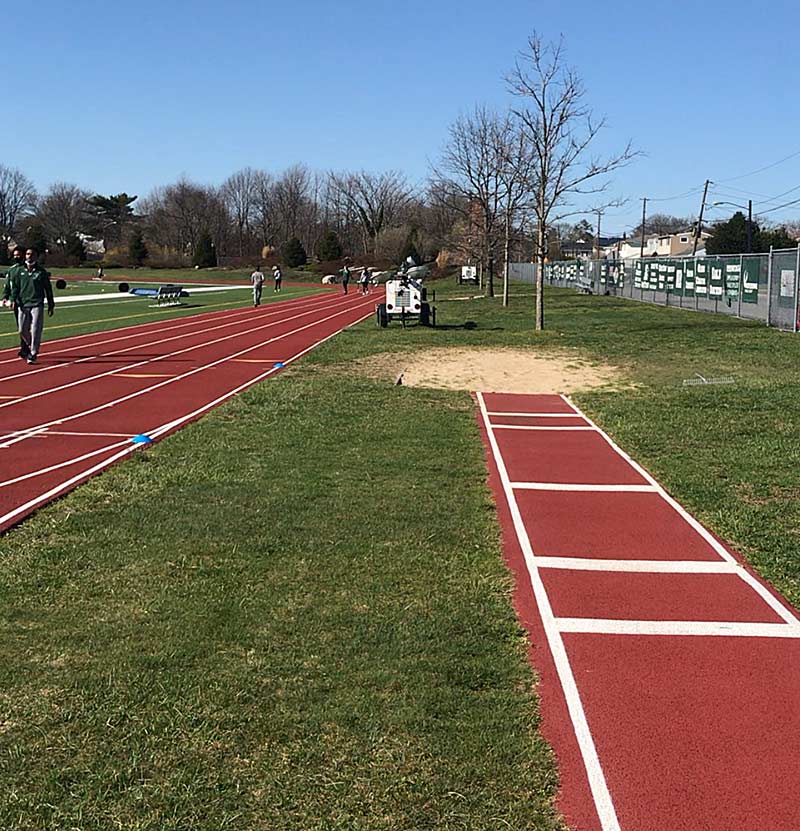
A long jump pit should be designed by an open area or grass and away from any walls, trees, fences, or other obstacles. Brooms and rakes should always be available and well kept, but these tools should always be away from the pit and never lying around. Lastly, no jump is ever made while there is another athlete jumping, and the runway is ALWAYS clear and swept (Fundamentals of Track and Field, p. 132).
Training Model for Long Jumpers
- Jumps (2-3x/week, this may include meet days)
- Sprint training (2-3x/week)
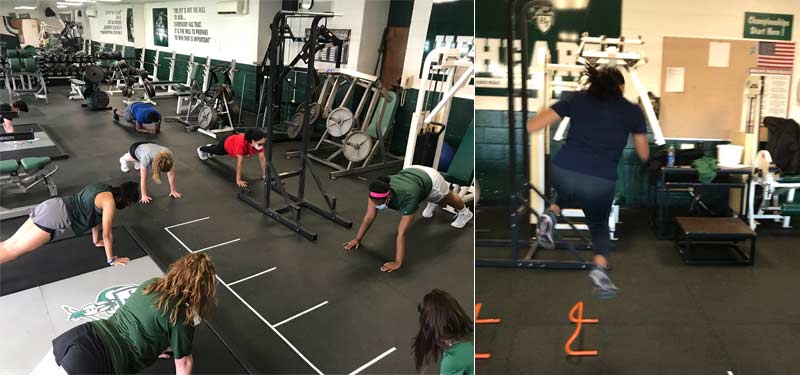
- Plyometrics (1x/week)
- Lift (1-2x/week)
Our jumpers also train in the short sprints and in our lifting program, as they usually compete in a short sprint event as well. Surprise—the acceleration and max velocity of a sprint translates to the long jump. Acceleration work and basic strength are always the focus in the beginning of the season: from there, we build, and it will all translate onto the track and the runway. This goes for any athlete, really, and our training philosophy is you can’t have a powerful weak person. It just doesn’t work. So, it is very important to keep your jumpers fast, powerful, and strong.
Our training philosophy is ‘you can’t have a powerful weak person.’ It just doesn’t work. So, it is very important to keep your jumpers fast, powerful, and strong, says @bpfitcoaching. Share on XIn terms of skill and technical work, we usually have our jumpers practicing long jump 2-3 times per week. I have noticed over the years with high school jumpers that a lack of strength will inhibit vertical forces applied to the jump. The cueing I use for that is be a pogo stick; also, helping the athletes understand to be patient for take-off, let the board come to you. Remember, there are a lot of contributing variables that high school coaches must accommodate for—weather, pandemic, weight room availability, missed practice days, planned days off, meet schedules, and more—so pick what will be most beneficial for the jumper.
Create buy-in and really focus on the athlete and what they need in order to be successful. It is the same process as with my throwers: Establish a culture where the athletes enjoy what they do as an event. They need to know that you, as the coach, are invested in them and are there to optimize their performance. We call our jumpers the Flight Crew, and they absolutely love it.
Breaking Down Technique
Long jumpers need to work on their technique for the approach, as well as the takeoff.
1. The Approach
High school jumpers commonly begin their approach with either a rolling technique or from a crouching position. Both styles work, so it just depends on the athlete and their experience with long jump.
The stronger jumpers typically start in a crouching position. Could this be because you often have sprinters doing long jump, and this mimics the start of a sprint? Possibly. For the rolling/rocking start, the jumper extends and rocks back and into the approach to gain momentum.
Don’t force the jumper into a position where it ruins their approach—let them play around with it in the beginning and then have them stick with one. It’s all about routine and repetition, so that when the jumper is in competition, the approach doesn’t negatively affect their performance.
2. Take-Off and In-Flight
There are two different techniques that happen during flight with youth long jumpers:
- The hang technique.
- The hitch-kick technique.
When I first started teaching the long jump, I don’t even touch on the topic of what to do during flight because it takes away from the athlete’s run-up. Again, everything built up starts on the ground, and what happens in flight is due to the approach—there is not much you can do once in flight.
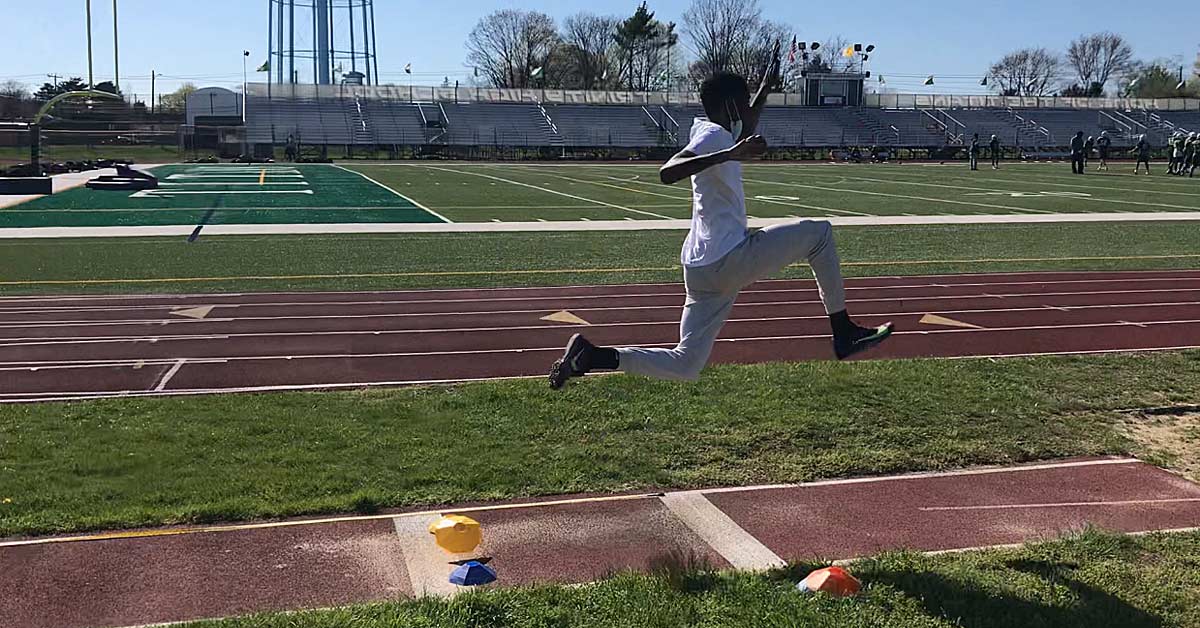
Let’s start with the hang technique: Once takeoff happens, the lead leg is extended and brought backward to join the takeoff leg, both extended. The arms then circle downward, backward, and then upward and forward—the arms are momentarily above the head (hence the “hang” position). The arm action assists in driving the athlete forward, beyond where the feet make contact with the sand (Fundamentals of Track and Field, p. 132). The hang technique is usually what you see with novice and youth long jumpers. (See figure 6 below.)
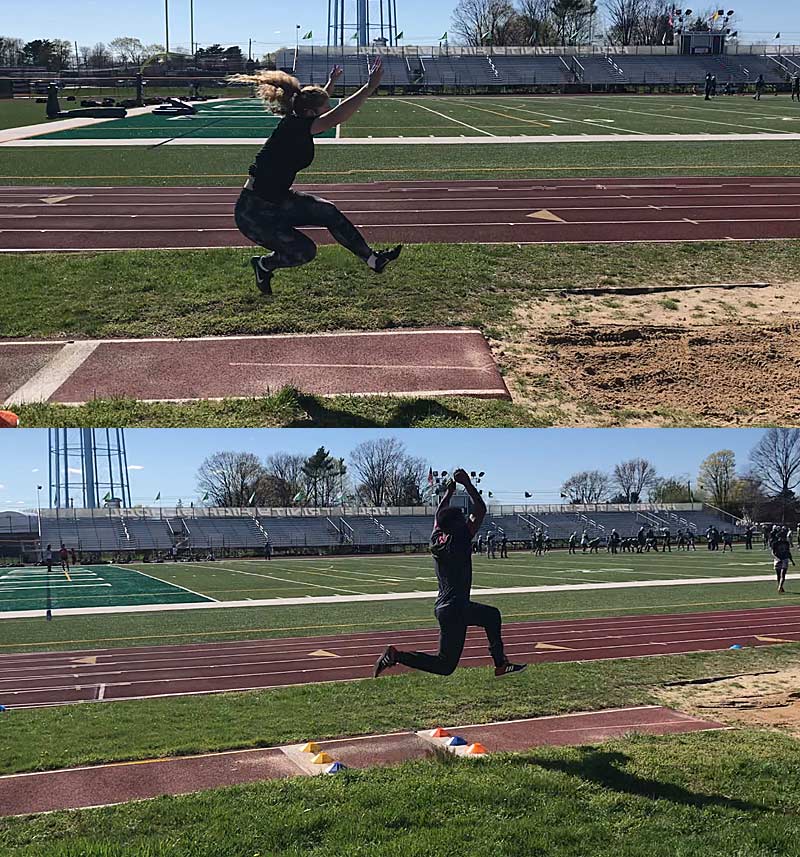
You are likely to see the hitch-kick technique with more experienced high school long jumpers. After takeoff, the athlete assumes a momentary stride position in flight. The leading leg is rotated backward into its extended position; both legs are then flexed and brought forward for landing. The arms rotate forward and then backward, balancing the action of the legs and thrusting the athlete forward in the landing. This creates a cycling action (Fundamentals of Track and Field, p. 133).

Drills for Your Flight Crew
Below are a few drills that I believe help in the development of a high school long jumper: acceleration/short sprints, bounding, hopping, broad jump, adding cones or hurdles at the board to create patience in takeoff, video analysis, and repetition.
Cones at the Board
Use cones at the board to help the athlete focus on patience for takeoff. The athlete starts at their normal marker, which you have established based on their speed. They plant the whole foot, with toe slightly ahead of knees and hips, setting up the pelvis in an optimal position for takeoff.
Straight-Leg Bounding
With straight-leg bounding, focus on the eccentric movement—quick and strike back down to the ground. This is good for a warm-up prior to jumps to get the hamstrings prepared and decrease injury risk. It also helps with coordination and rhythm. Be sure that athletes keep proper posture alignment.
Acceleration
Acceleration is exactly what the jumper must achieve in the beginning of the approach. Use wicket drills with falling or two-point starts. These help build their max speed.
Hurdle Jumps to Gain Height in Flight
Like the cones at the board, hurdle jumps help create patience with takeoff. They apply the vertical focus of the jump. Look for full extension at the hip joint of the takeoff leg.
Creating the Conditions for Flight
In order to develop a solid flight crew, create the environment, do your research, and study the event. I wanted to make it easier for coaches to have access to easy descriptions and examples of how to optimize performance within specific field events. These were the training methods and principles I have applied, and I have seen positive outcomes as a result.
Personally, a goal of mine was to create an environment for our jumpers and throwers where they could excel and be proud to be a part of the field events. I believe they get the back end of the stick, especially within the high school track and field setting, and I wanted to create buy-in and set a positive and motivating environment so the kids WANT to be at practice and compete.
A goal of mine was to create an environment for our jumpers and throwers where they could excel and be proud to be a part of the field events, says @bpfitcoaching. Share on XWho knows, maybe you will inspire one of your athletes to pursue a collegiate career! I was a javelin thrower, and sometimes when you’re a thrower or jumper, you can feel like an outcast on the team—always separated. This is why we have created The Flight Crew, The Throws Crew, and Athlete of the Week to commend their hard work and dedication.
Do your diligence as a coach and, most importantly, KNOW your athletes and what makes them tick. I have some jumpers who need more coaching than others—pay attention to what your athletes need, keep it simple, and optimize their performance.
Reference
Carr, Gerry. Fundamentals of Track and Field. Human Kinetics. Second Edition. 1999.


