[mashshare]
In this article, I break down the workout I developed for an athlete featured in Acceleration and Power: Breaking Down the Start. I also include pictures from my initial assessment and from four weeks after he started the program.
Before participating in the training program, his best time on acceleration block 9.2 m was 1.79 seconds. After four weeks of training, his best time was 1.61. (Note: The start used a touch pad and does not include reaction time. When using a touch pad, athletes can begin to push before the thumb releases the start button. The finish transmitter was placed at 10 meters, the watch triggers 0.8 m before the transmitter, and the timed distance was 9.2 m).
I do not directly train this athlete. Some athletes send me videos, and I do an assessment and build a workout for them.
Day 1: Block 10’s (cycle of 2-3 weighted + 1 unweighted)
Day one is form day. We work some actual starts on this day, and the block work is for 10m. This works great when timed with a Freelap system or a Swift Speedlight timer.
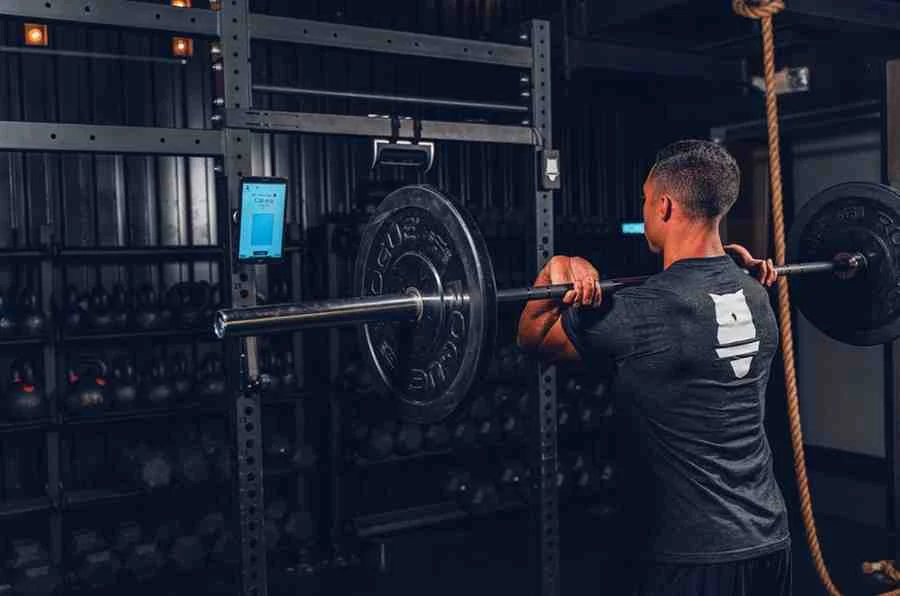
With the beams set through an iPad, a coach can get splits for the distance that the athlete runs. When the athlete completes the distance, the coach receives an immediate force/velocity curve. This always helps determine which direction to go for setting up a training program. It also has a reaction function to measure reaction times from a signal, which especially helps in track. We’ve had athletes drop times based only on their improvements from this function.
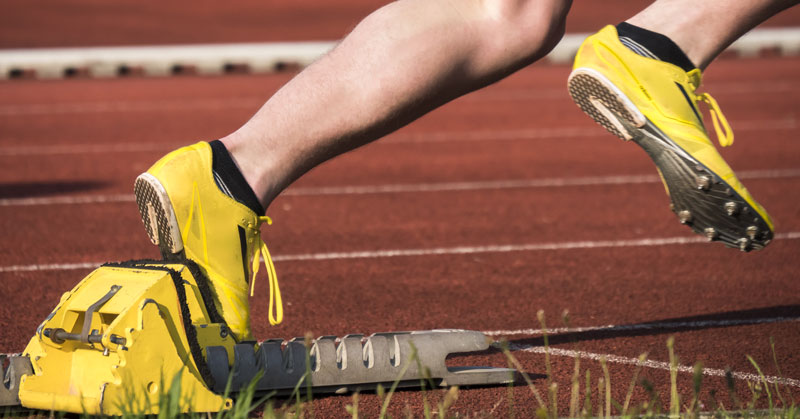
When starting, the initial push needs to bring the athlete’s torso up by driving hips forward. The push from the back leg should be explosive and powerful. It’s important to have a good push from the back leg to move the center of mass forward. If the athlete pushes from the front, they lose this initial movement that’s so important for sprinters (JB Morin’s research).
My coaching cue is “boom-boom.” Push from the back foot and then the front foot. From this movement, the pelvis starts its job in the acceleration. The pelvis of the swing leg needs to start driving up the torso.
This is the big difference between runners who have a great start and those who have an average start. When the hips drive forward, they create length and space for the foot to land underneath, rather than in front of, the center of mass.
To further help this position, the coach can give a cue to keep the angle of the knee as acute as possible during the drive phase. If the coach is watching from the side or assessing film, the swing leg knee should not stop moving forward before the plant leg’s toe off.
There should be some hang time in the first steps of acceleration. Of course, the fancy arm split will also create forward movement and hang time. At this stage, if the foot lands too far in front, the hamstring has to do the job of the rectus femoris, and true triple extension will not occur. In fact, this is why some people pull their hamstring coming out of the blocks.
After the first (or balance) step, an athlete should strive for hips to reach 60-80 degrees of anteflexion, acute knee angle, a dorsiflexed foot, and free hip up. The knee is still moving forward or suspended at toe off. If the knees are even in the stance phase and the swing leg knee is lower than the stance leg, the athlete lacks stiffness.
All of this happens very fast, so we need to slow the whole process down. I like to take a heavy band, sled, EXER-GENIE, or Run Rocket and make it heavy. When the athlete starts, they focus on thinking they are like a gazelle.
The runner moves the hip up and forward while keeping the swing leg angle between the calf and hamstring tight for as long as possible. The chest should be upright at a 45-60 degree angle. When the leg comes down, the emphasis is to land “behind” the body and drive forward.
The support from the band also allows the athlete to stay low. I like to contrast 2-3 of these runs with a normal acceleration. To shake things up and challenge the runner’s form with various surfaces, the coach can put mats in the area of the start.
If this athlete were training with me, we would add the 1080 Sprint and go three contrasting starts and rotate. I like the heavy work for horizontal force, and the 1080 for smaller amounts of force for the actual start and a free start.
Day 2: Explosion Exercises
Day two is an explosion session where the athlete focuses on his first two steps out of the hole. This runner has a problem getting his chest up, so this is the focus of the session. The Swift SpeedMat would be helpful here to record jump heights.
1. Basic Box Jump
The first exercise is a basic box jump. The athlete finds a box that’s about the height of their mid-shin. They put the front leg of their start on the box which is placed off to the side. The athlete should allow as much dorsiflexion as possible and push the hips back. The amount they bend will depend on how they look in the blocks.
In this runner’s case, I don’t want him to go down very far because he lacks the stiffness to do so. He needs to develop the snap up. So he’ll go down to about 80 degrees (90 is vertical). From there, he initiates the movement with his hips driving forward and snaps his body straight up in the jump. His leg on the ground will drive forward as he tries to bring his knee as high as possible.
To make this drill more difficult, the coach can place a high box diagonally so the second step has to slam down on top of it and then the athlete can drive from that leg also. When they get stronger, they can drop the torso lower.
2. Bound Uphill on Moderate Angle
Another drill is to bound up a hill of moderate angle; parking decks have the perfect angle. I like to add some lateral motion as well. Again, the focus is on hip movement, knee angles, and stepping “behind” the body.
3. Good Morning to a Step
I like this drill because it’s similar to a start regarding hip movement. Keep the weight light to avoid creating slack or poor drivers.
4. Crouch to Stairs
Crouch to stairs is similar to the Good Morning to a step. Start from a bent position and have the athlete work their way up 2 to 3 stairs. They key is the hang time when stepping down to the stair. It is the “foot from above” principle that allows us not to decelerate when trying to accelerate. Watch the first part of this video.
Day 3: Speed Work
So we don’t get away from speed work, I’ll add a day of fly 10’s with some extra drills.
1. Fly 10’s with No Arms for Time
Do fly 10’s with no arms. I call it “hugs not pugs.” This stance forces the athlete to drive to their big toe more. We take time on this as well.
2. Single Leg Cleans
To help drive the pattern of fly 10’s with no arms, add single leg cleans to a toe.
3. High Knee Skips Uphill
High knee skips uphill force the hips to drive the knees up and forward. The skip creates tension in the body between knee lifts and allows time to complete the knee action.
4. Lateral High Knees Uphill
Lateral high knees up a hill are like a Pom line doing the can-can. The height of the ramp pushes for high hip movements, and the angle drives to the big toe.
5. Daily Toe Pops Uphill
Daily toe pops up a hill drills rigidity and ankle stiffness. When an athlete does ankle pops on a flat surface, the bounce allows them to move forward. Or in some cases, they use their neck to help move forward (seahorse). This is not ideal.
To make the drill better, have the athlete keep the ankle rigid on contact. The ankle has to rock forward to create movement. When an athlete does a toe pop up an incline, the ankle stays stiff for the landing but must bend forward to move the energy in the body to propel forward. The athlete can do one or two legs.
At this point, wait until the athlete’s times stop improving. Then do one speed workout in a seven-day period and film the run. Based on this, the coach can make some decisions on what to work on next.
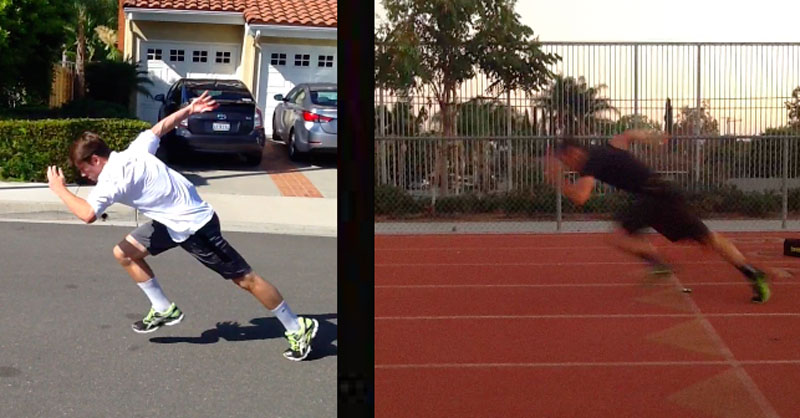
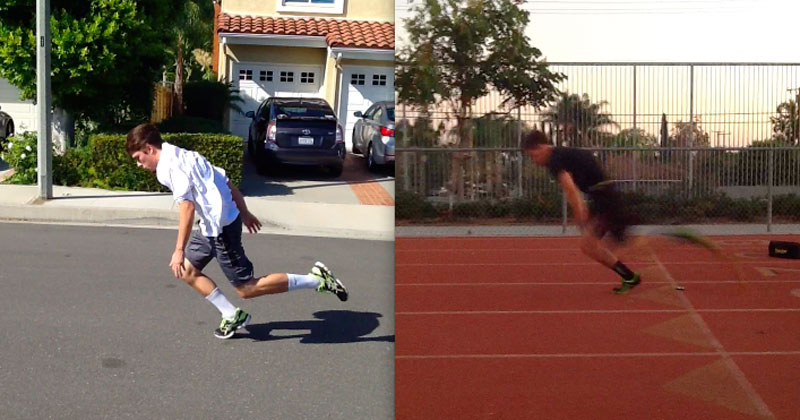
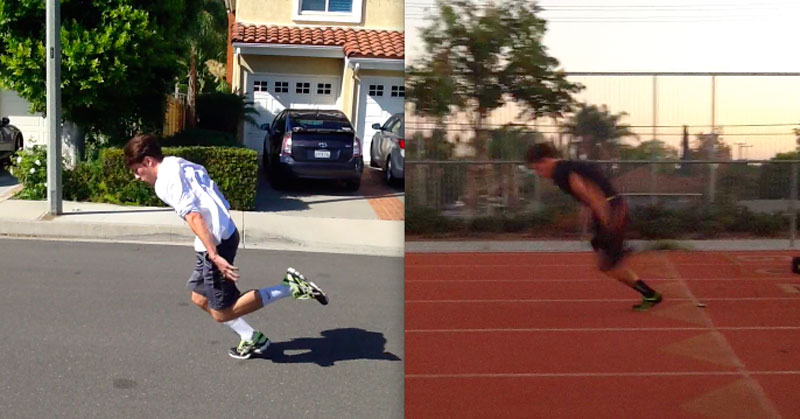
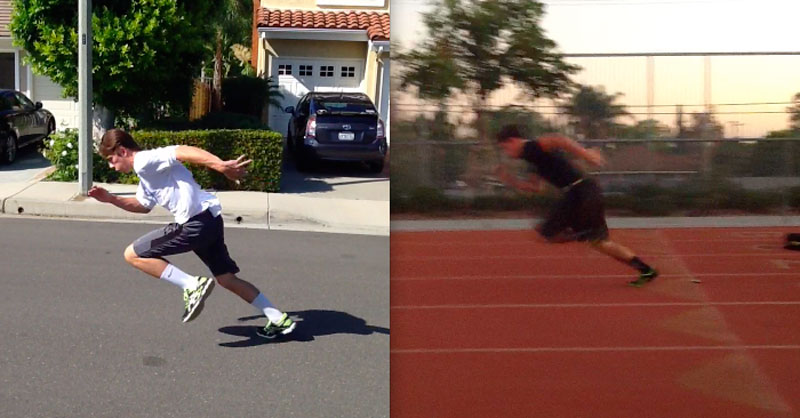
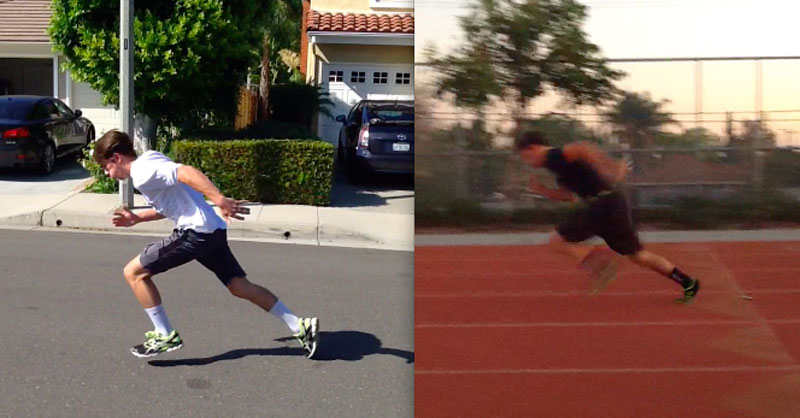
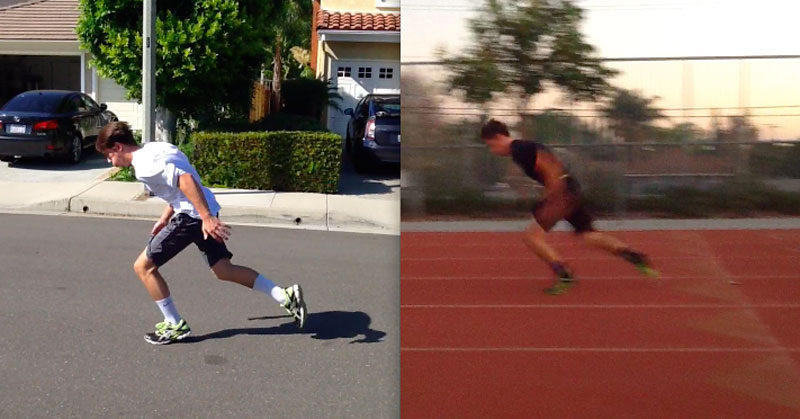
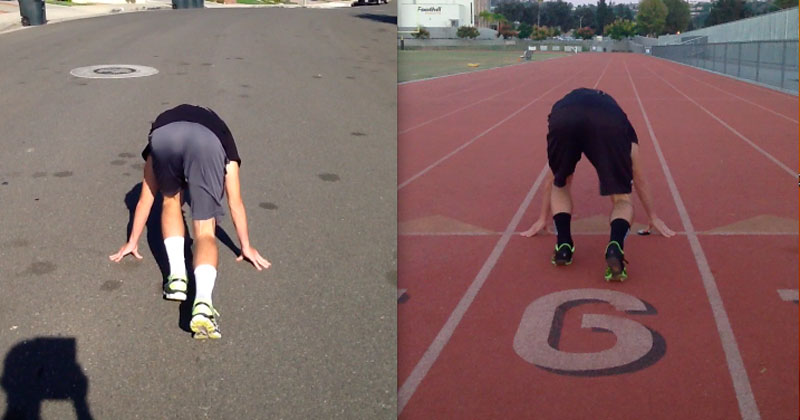
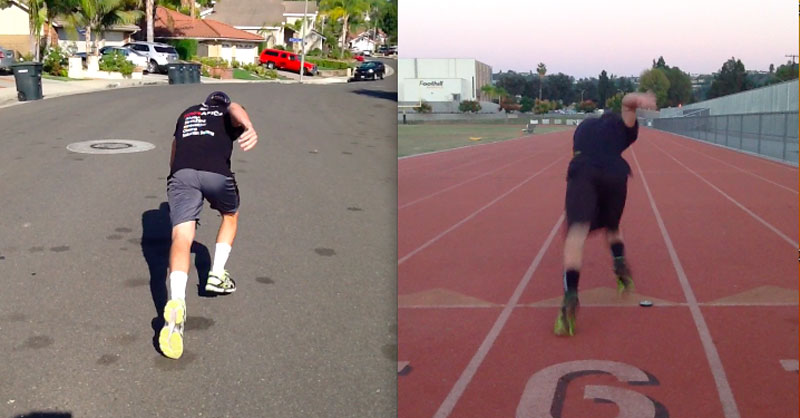
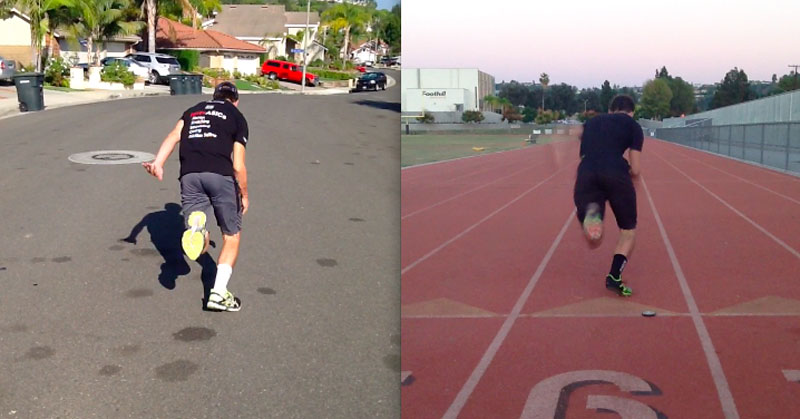
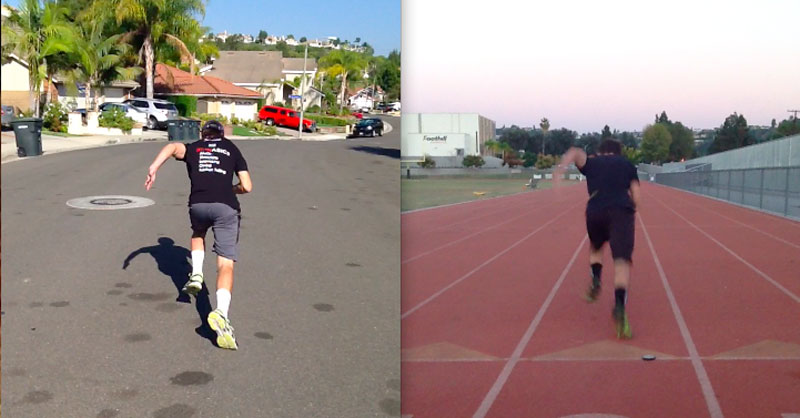
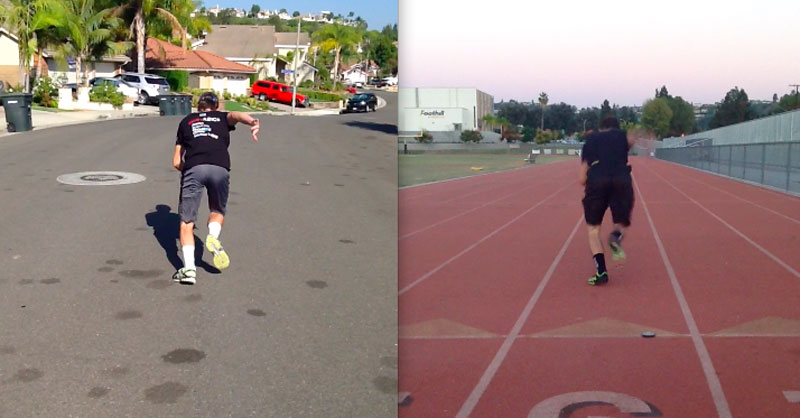
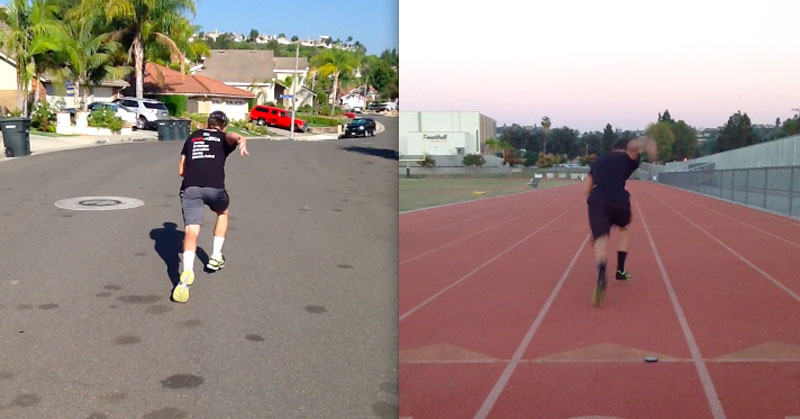
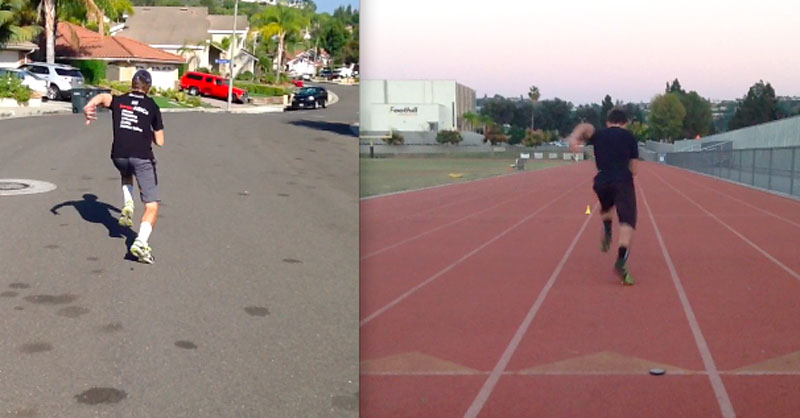
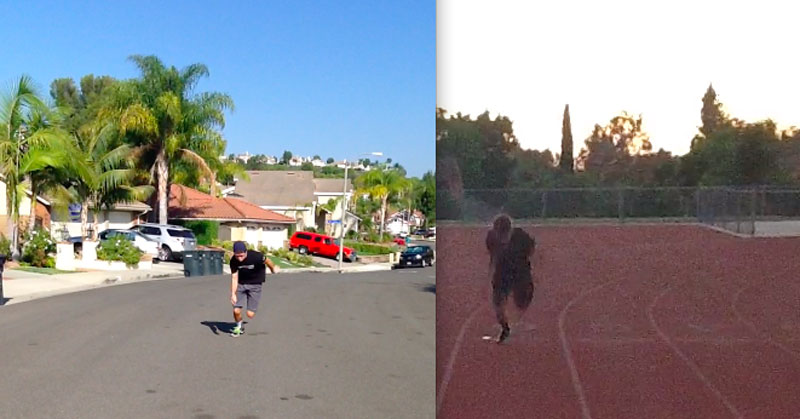
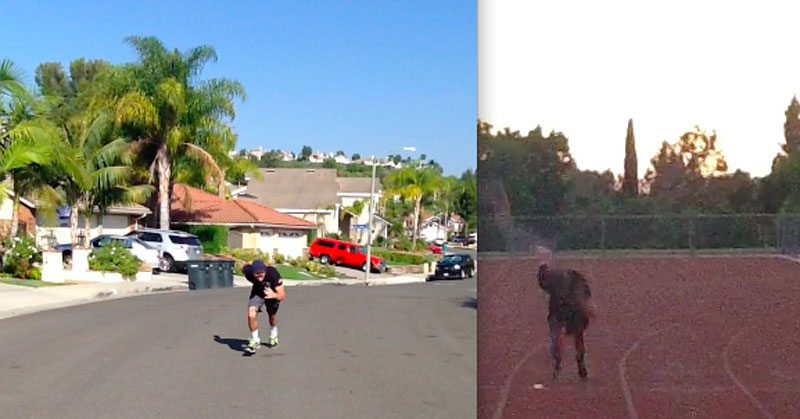
Sprint Acceleration Before and After Photos
Here are the pictures from my initial assessment and post-workout four weeks later. The pictures on the left are the before shots, and the photos on the right are the after shots. Although the surfaces and shoes vary in the videos, all the timing was done on a track with same shoes and weather conditions. All times recorded were using a Freelap timer.
To learn more about the whole process, come to the Track and Football Consortium IV in Chicago on Dec. 2-3.
To have your workouts customized, check out Slow Speed School.
Since you’re here…
…we have a small favor to ask. More people are reading SimpliFaster than ever, and each week we bring you compelling content from coaches, sport scientists, and physiotherapists who are devoted to building better athletes. Please take a moment to share the articles on social media, engage the authors with questions and comments below, and link to articles when appropriate if you have a blog or participate on forums of related topics. — SF
[mashshare]

